
Choose Web Setup or Mobile App Setup. The screenshots show examples from Archer AX1500 and the Tether app. Button names and the order of some prompts may vary; follow the matching instructions below.
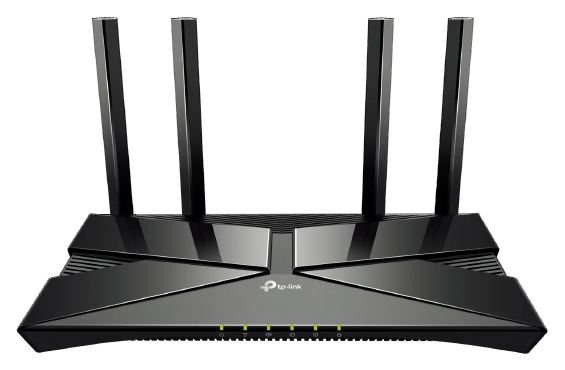
Step 1: Connect the router
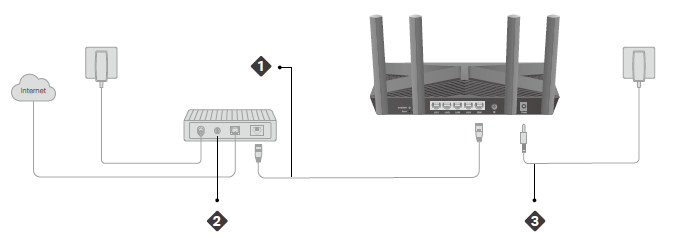
1.1 Turn off the ONT
Turn off your Optical Network Terminal (ONT), also known as the fibre box.
1.2 Connect the Ethernet cable
Connect the active ONT port specified by WorldNet to the router’s WAN / Internet port with an Ethernet cable.
1.3 Turn on the ONT
Wait about 2 minutes for it to restart.
1.4 Turn on the router
Connect the power adapter to the router and switch it on.
1.5 Check the lights
Check that the LEDs match the hardware status shown below.
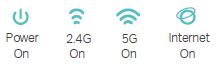
Note: If the 2.4 GHz and 5 GHz LEDs are off, press and hold the WPS/Wi-Fi button on the back for more than 2 seconds, then release it. Both LEDs should turn solid on.
Step 2: Connect your computer
Choose one connection method below. You only need a wired connection or a Wi-Fi connection to continue.
Option 1: Wired connection
Turn off Wi-Fi on your computer, then use an Ethernet cable to connect it to a LAN port on the router.

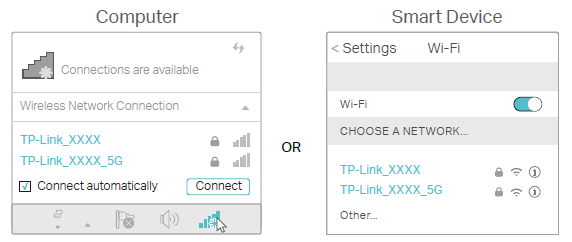
Option 2: Wireless connection
Find the Wi-Fi name (SSID) and password on the label underneath the router. Open your computer or device’s Wi-Fi settings and join that network.
Step 3: Set up the router
WorldNet Internet Settings
Internet Connection Type
Dynamic IP / DHCP / Automatic IP / IPoE
VLAN
Disabled / Off
Choose the matching option shown by your router.
3.1 Open the setup page
While connected to the router by Wi-Fi or Ethernet, open a web browser and enter http://tplinkwifi.net. Alternatively, try http://192.168.0.1 or http://192.168.1.1. If the login page does not open, check the address on the router label or use its current default gateway address.
Note: Keep your computer connected to the router by Ethernet or Wi-Fi throughout setup.
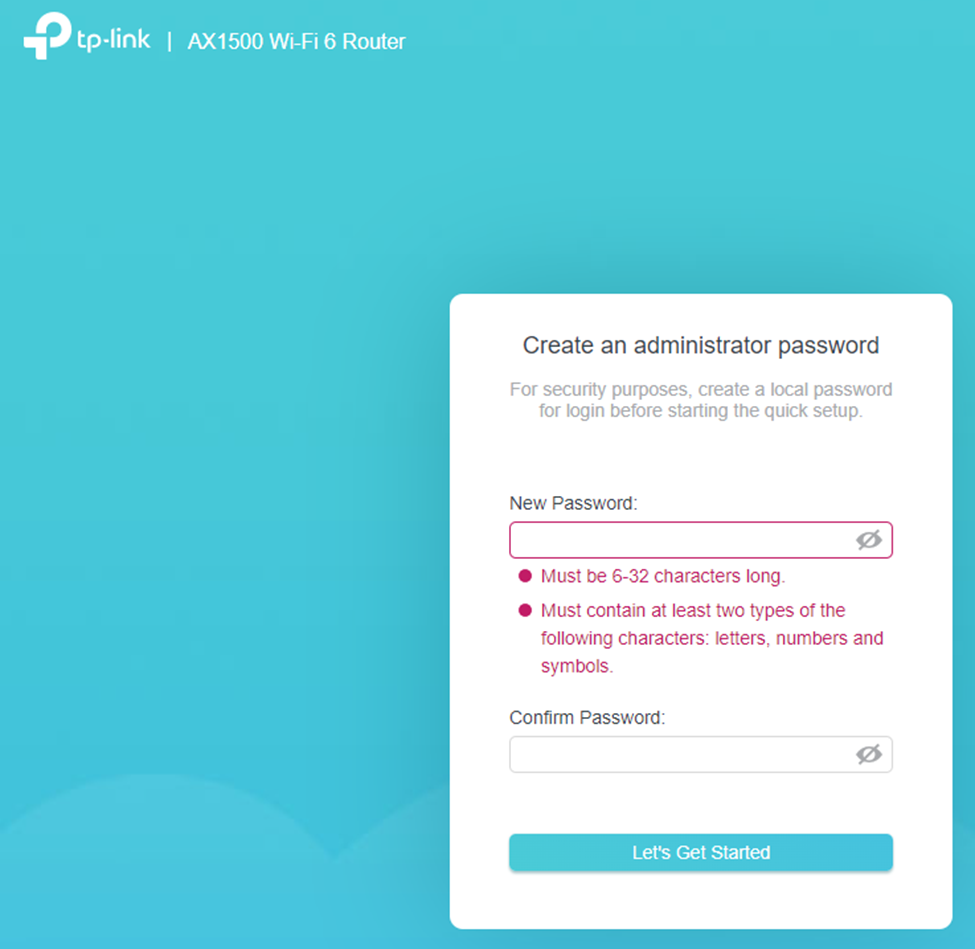
3.2 Create an administrator password
Create a login password to access the router configuration.
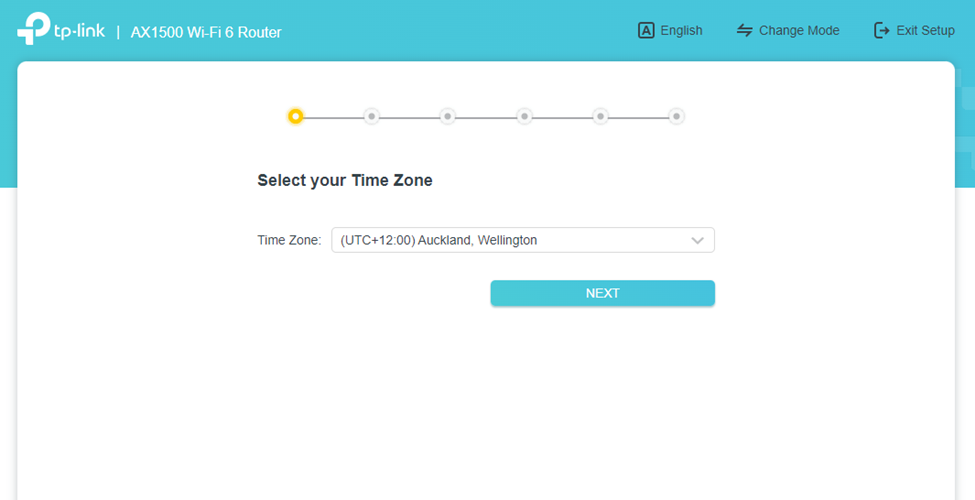
3.3 Select your time zone
Select the time zone for your location.
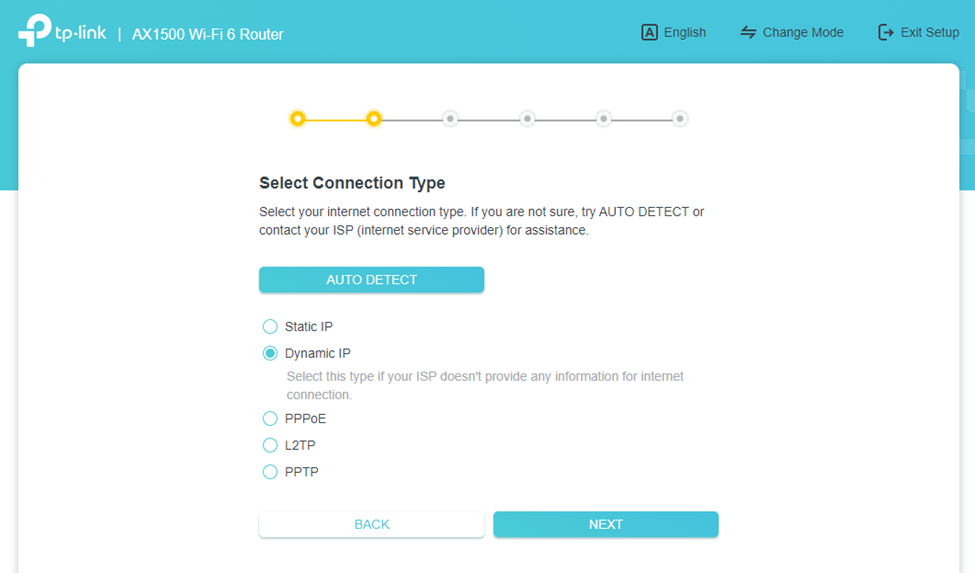
3.4 Choose the internet connection type
Select Dynamic IP. If your router uses a different name for this connection type, refer to the WorldNet Internet Settings above.
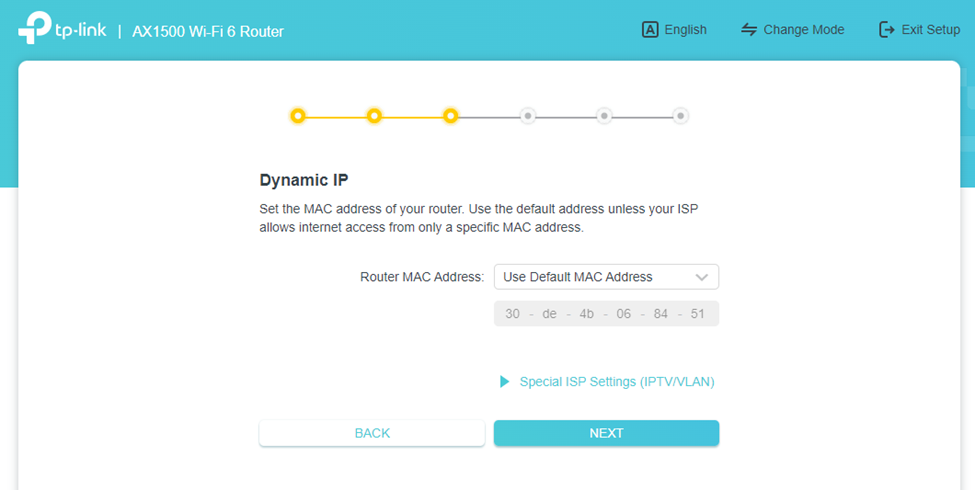
3.5 Review the MAC address
Review the router’s MAC address setting.
Note: You can skip this step and keep the default MAC address.
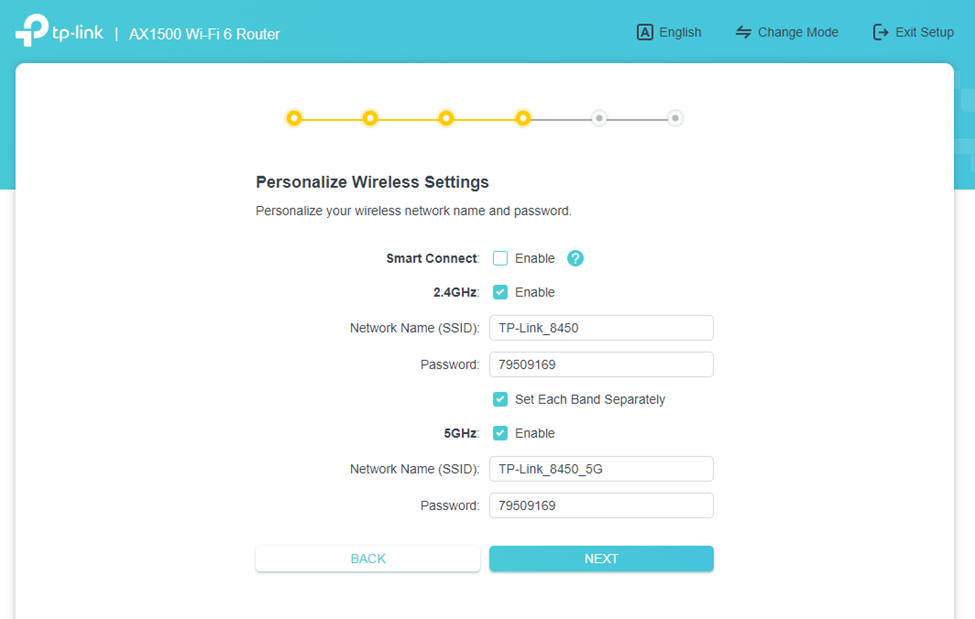
3.6 Set your Wi-Fi name and password
Enter the Wi-Fi name and password you want to use.
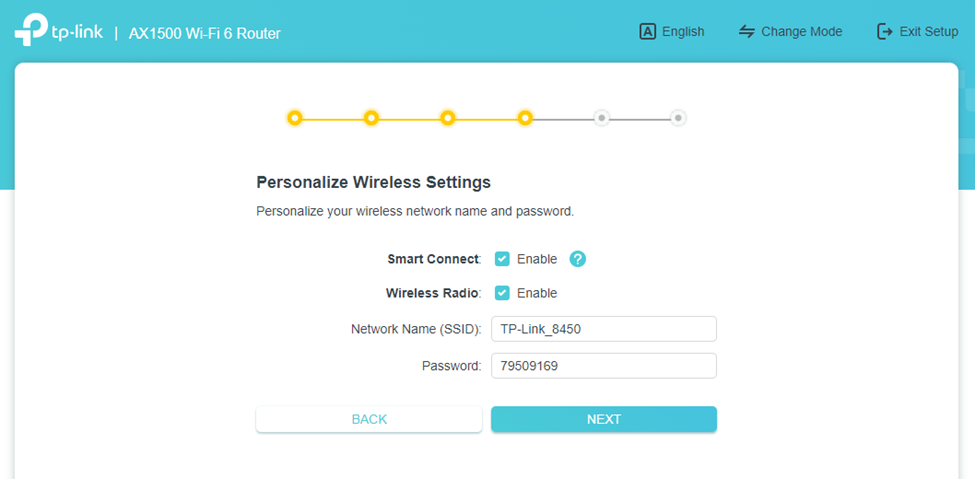
Note: Turn off Smart Connect if you want to manage the 2.4 GHz and 5 GHz networks separately.
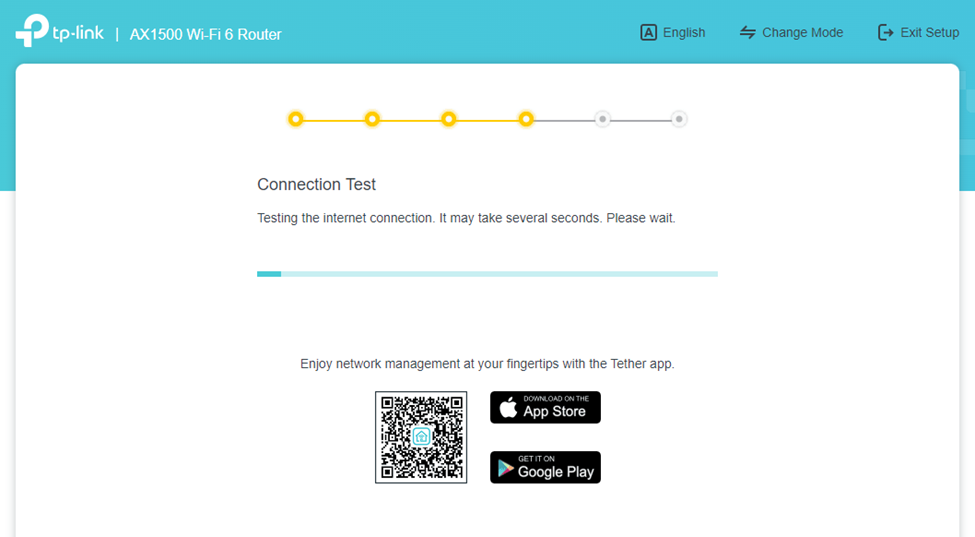
3.7 Run the connection test
Follow the connection test shown in the setup wizard.
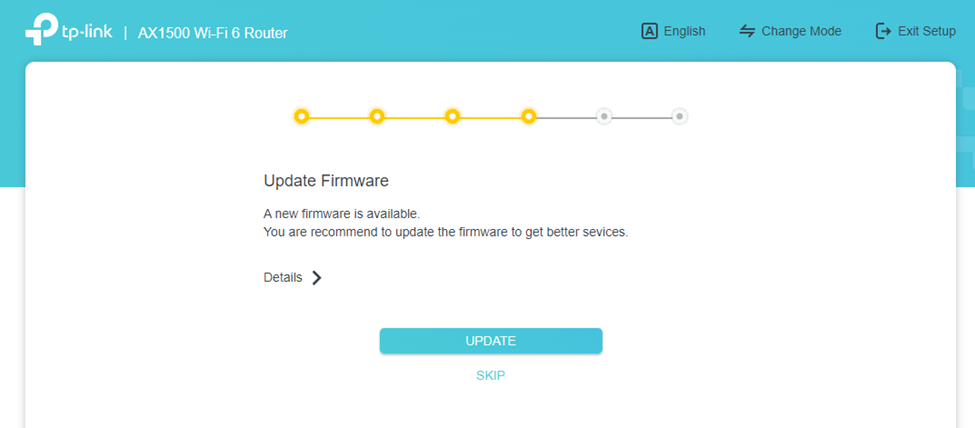
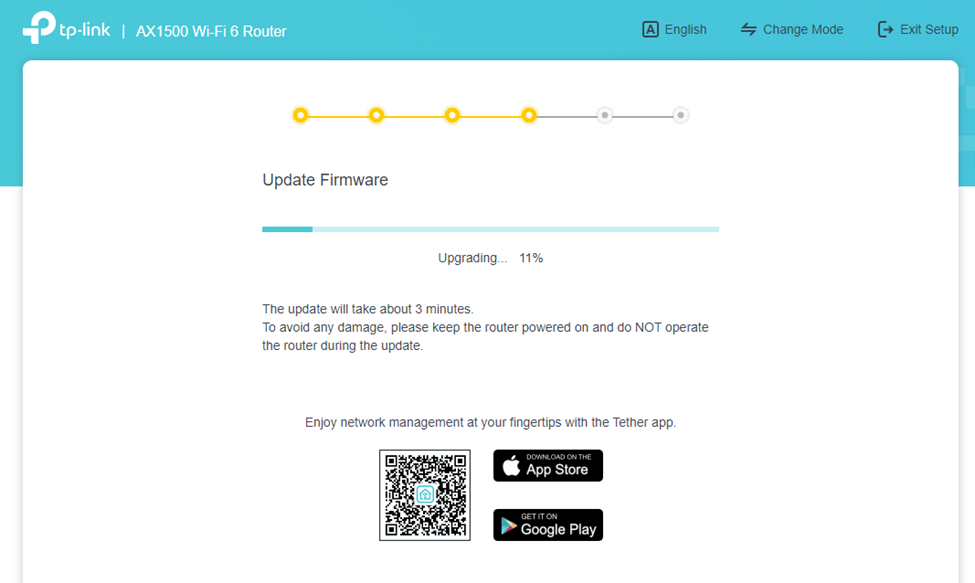
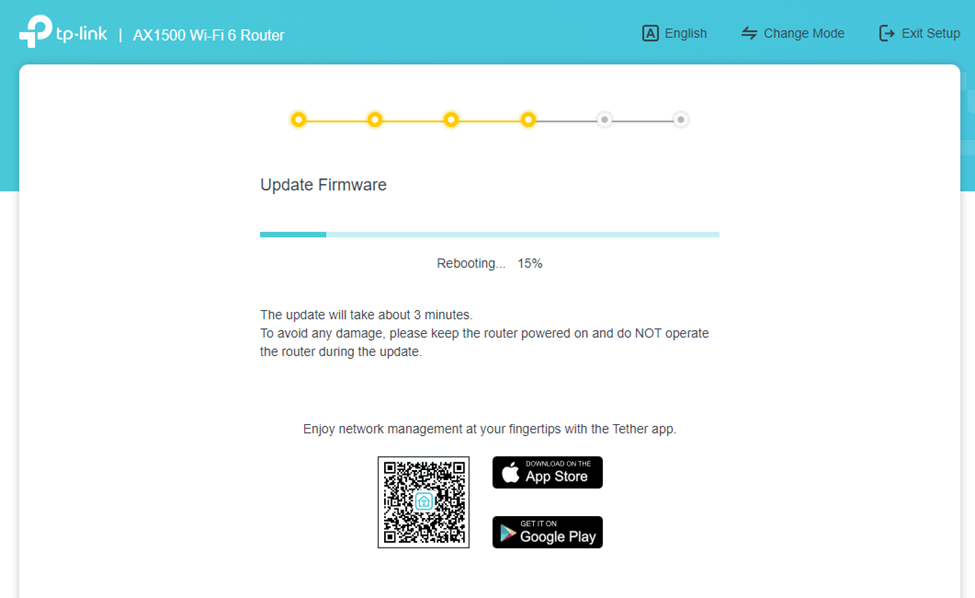
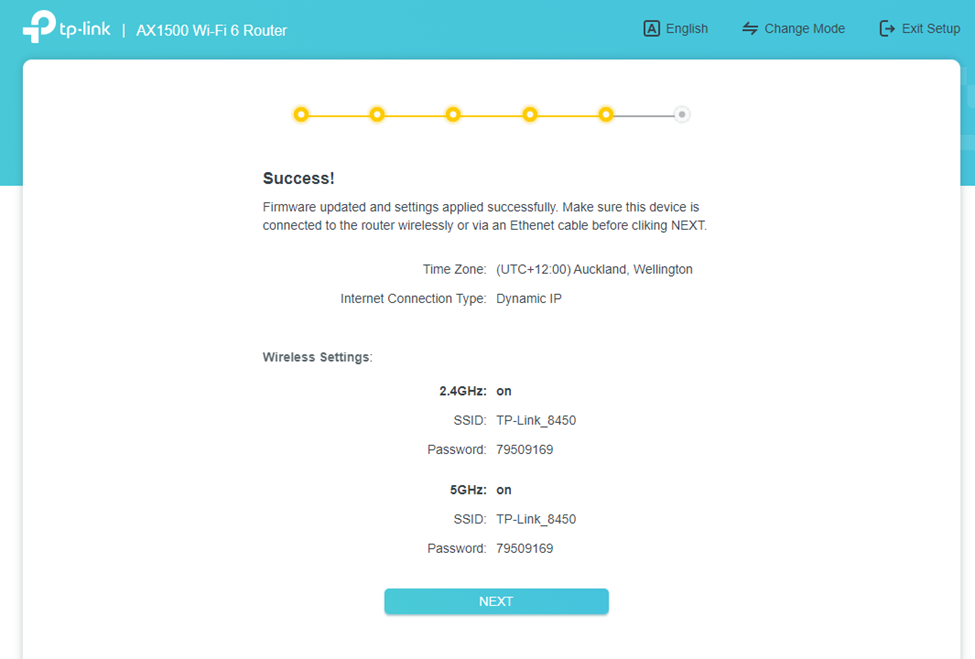
3.8 Update the firmware
Follow the prompts to update the router firmware. This is recommended.
Step 4: Test your internet connection
Reconnect using your new Wi-Fi details, or keep your Ethernet connection, then open a website to check your internet connection.
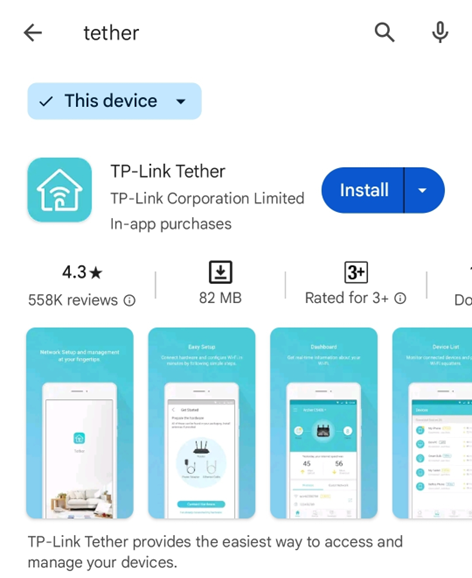
Step 1: Install TP-Link Tether
Install TP-Link Tether on your mobile phone.
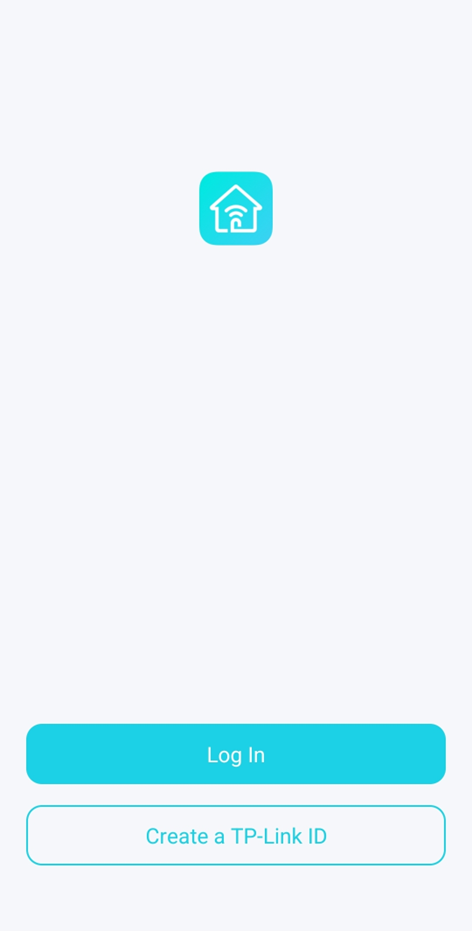
Step 2: Log in or create a TP-Link ID
Open Tether and sign in, or create a TP-Link ID.
Note: If the router is already powered on, join its Wi-Fi using the details on its label before adding it in Tether. If it is not connected yet, follow the hardware prompts below first, then join Wi-Fi and return to Tether.
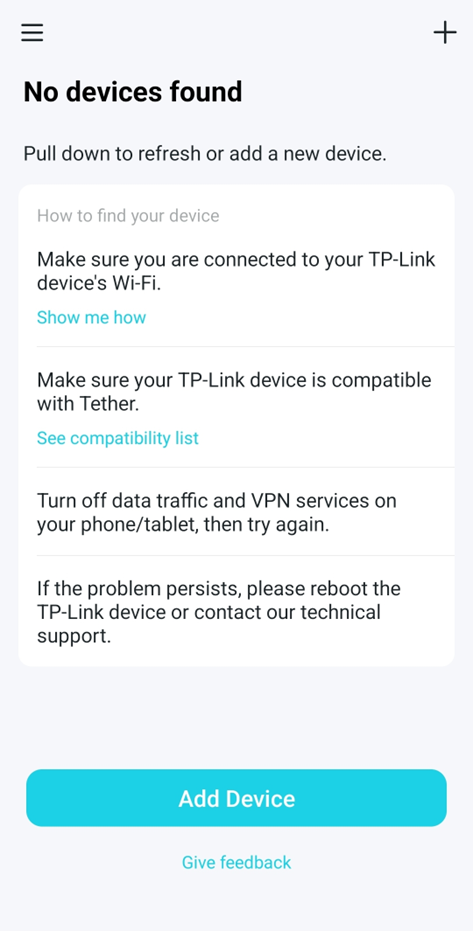
Step 3: Add your router
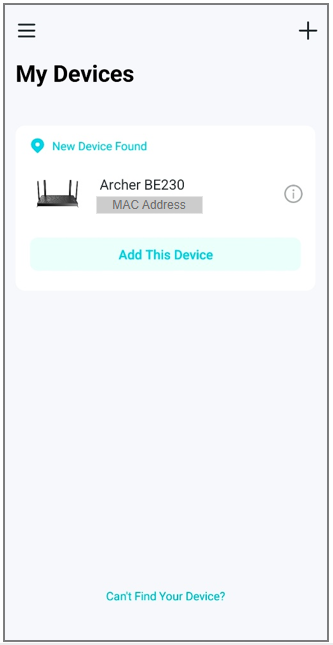
If your router is already listed under Devices / My Devices, select it or tap Add This Device. Otherwise, tap + or Add Device and follow the device-selection prompts.
Note: If Tether discovers the router automatically, the screen may look like this instead.
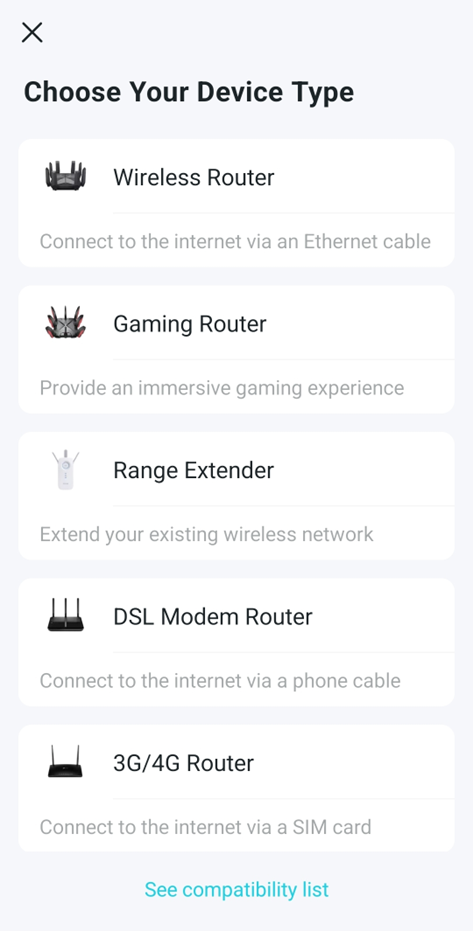
Step 4: Choose your device type
If Tether asks for a device type, choose Router / Wireless Router. If it has already found your router, skip this selection and continue with the prompts shown.
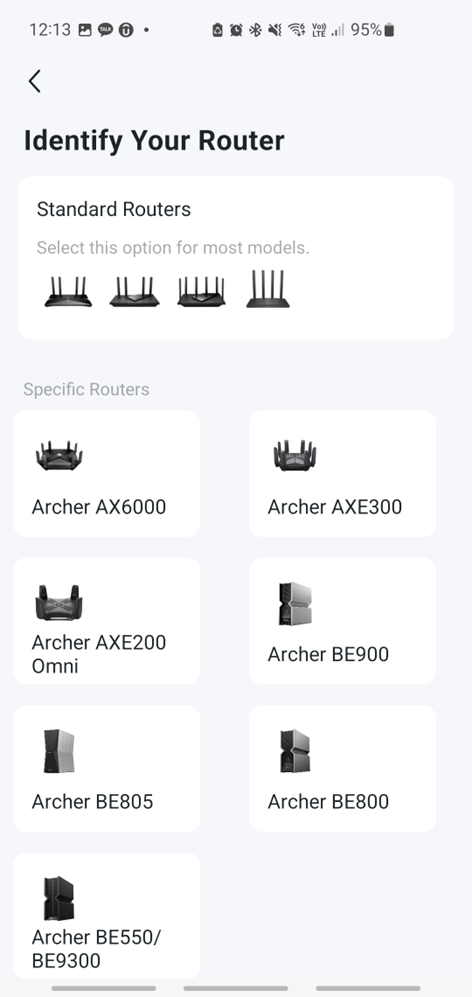
Step 5: Identify your router
Choose your model if listed, or Standard Routers when that option is shown. You do not need this selection if Tether has already identified your router.
Note: The next hardware prompts may appear before or after you join Wi-Fi. Complete any prompts shown; if the hardware is already connected, confirm it and continue.
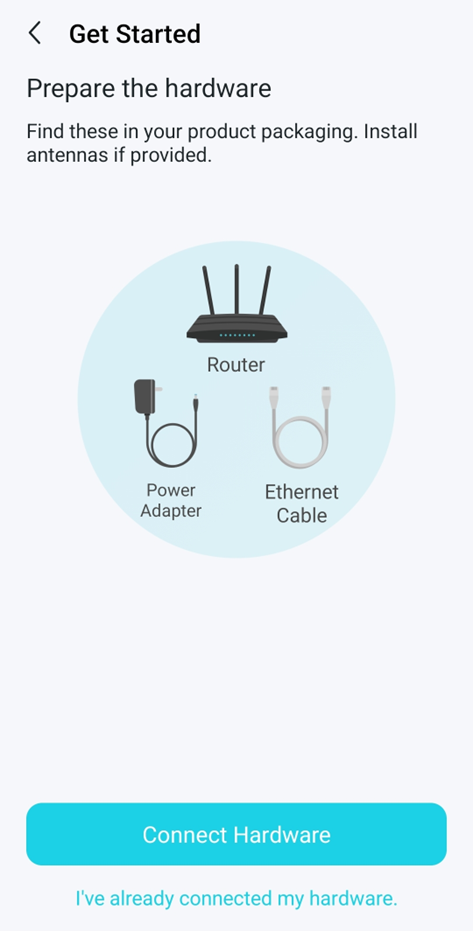
Step 6: Prepare the hardware
Have your router, power adapter and Ethernet cable ready.
Step 7: Connect the hardware
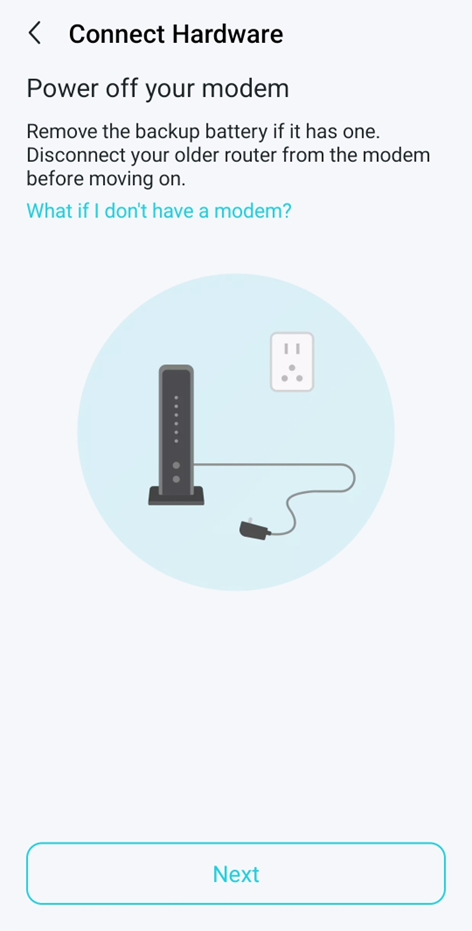
7.1 Turn off the ONT
Turn off your Optical Network Terminal (ONT), also known as the fibre box.
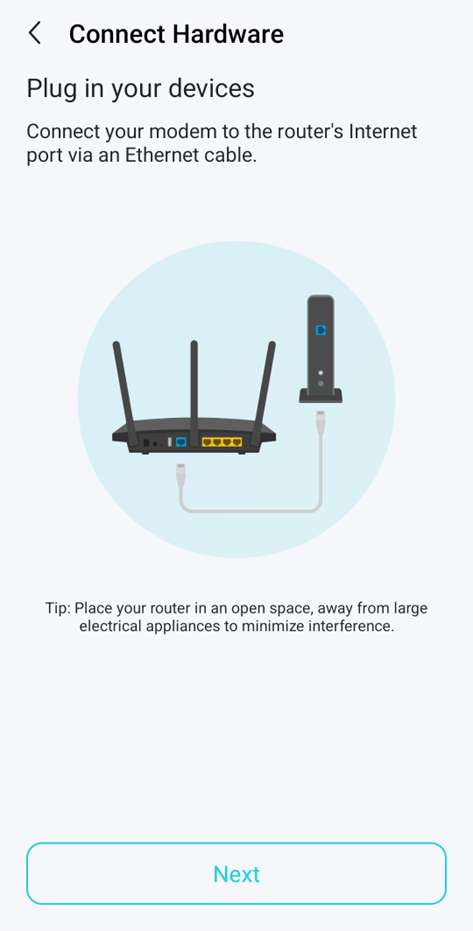
7.2 Connect your devices
Connect the active ONT port specified by WorldNet to the router’s WAN / Internet port. In Tether, “modem” refers to your fibre ONT.
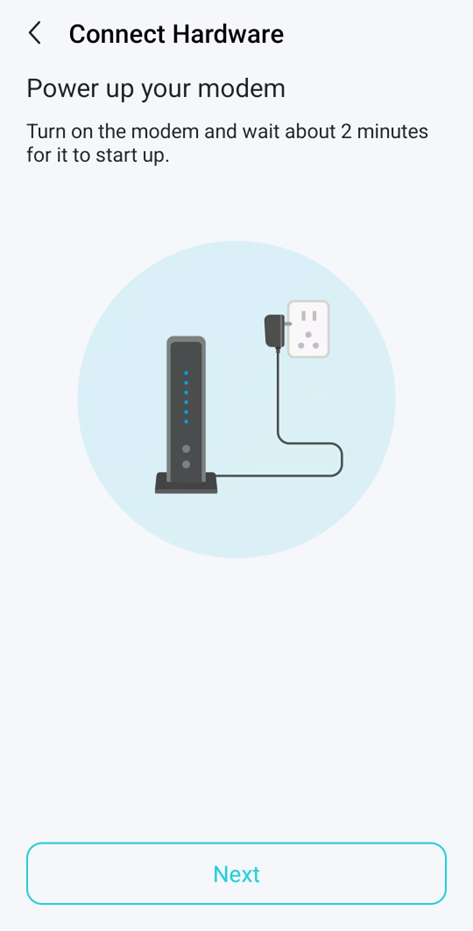
7.3 Turn on the ONT
Power up the ONT and follow the app’s prompts.
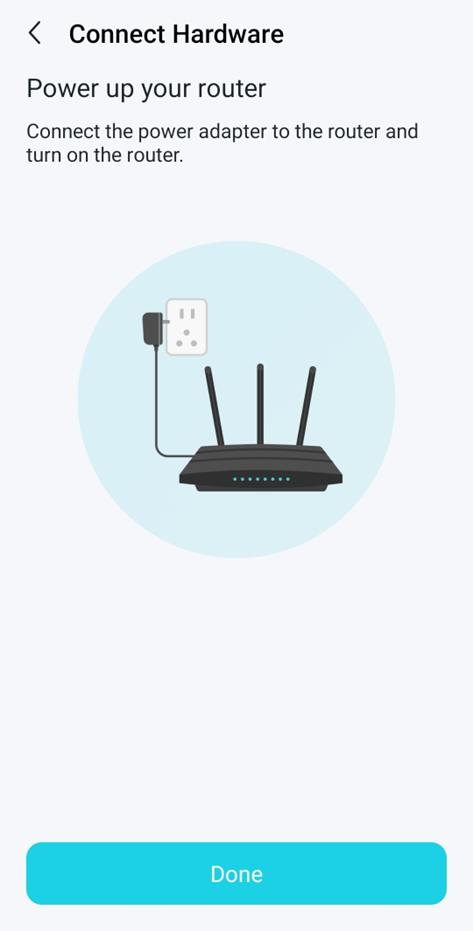
7.4 Turn on the router
Power up the router.
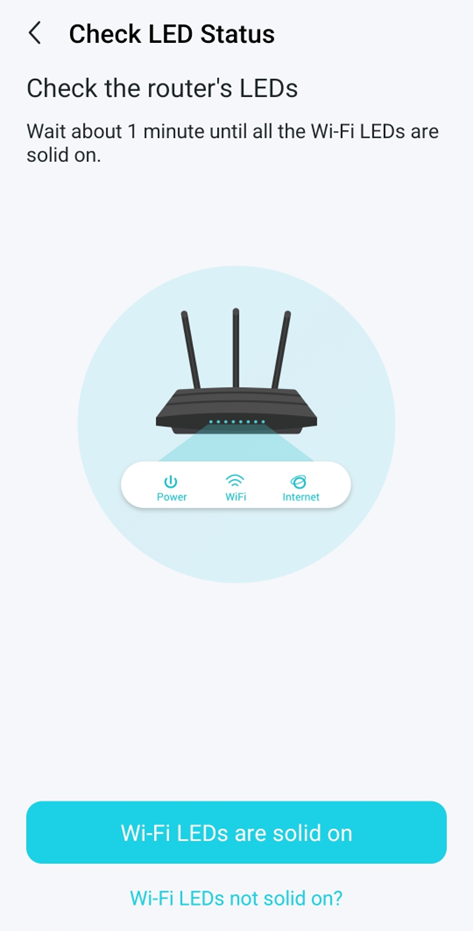
Step 8: Check the LED status
Compare the router’s lights with the status shown for your model in the app. The screenshot below is an AX1500 example; other models may use different indicators.
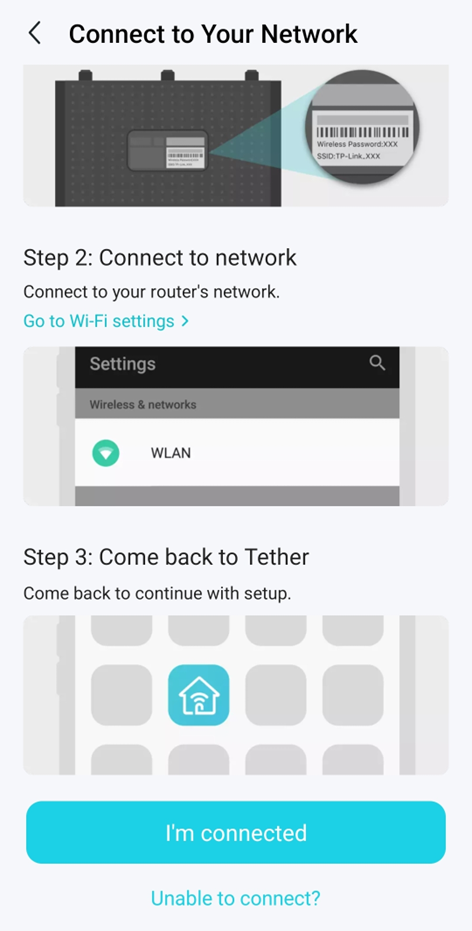
Step 9: Connect to Wi-Fi
In your phone’s Wi-Fi settings, join the network printed on the router label using its password, then return to Tether. Select your router if prompted.
Step 10: Set up the internet connection
WorldNet Internet Settings
Internet Connection Type
Dynamic IP / DHCP / Automatic IP / IPoE
VLAN
Disabled / Off
Choose the matching option shown by your router.
Note: The following screenshots are Tether examples from Archer BE3600. The same key settings apply when the layout or button wording differs.
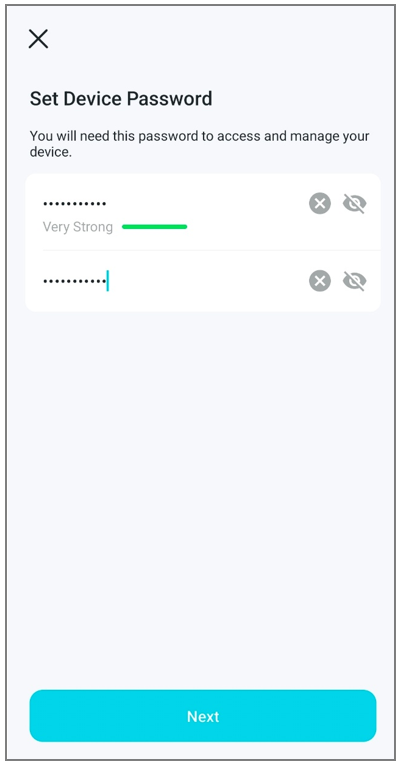
10.1 Create the device password
Create and confirm a password for managing the router. If the router is already configured, enter its existing administrator password. This is separate from your TP-Link ID and Wi-Fi password.
10.2 Confirm the Internet port
If Tether asks you to select an Internet port, choose the port connected to the ONT. For Archer AX55 Pro, select 2.5 Gbps WAN/LAN when that is the connected port. If Auto Internet Port is offered and identifies the correct port, use it; otherwise select the port manually. Skip this step if no port prompt appears.
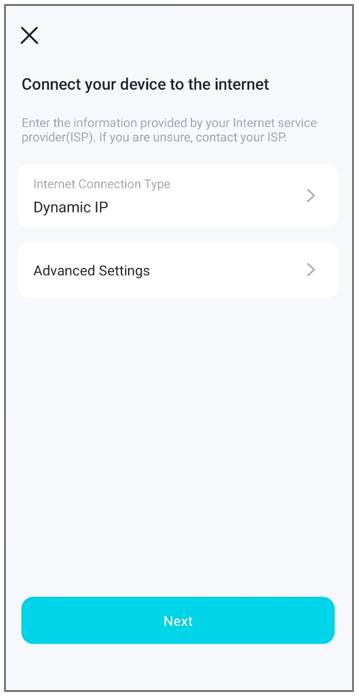
10.3 Choose Dynamic IP and disable VLAN
Set Internet Connection Type to Dynamic IP. If the app detects the connection automatically, check that it has selected Dynamic IP. WorldNet does not require a broadband username or password.
Open Advanced Settings / IPTV/VLAN if shown. Keep IPTV/VLAN disabled or off, then tap Done and Next as prompted.
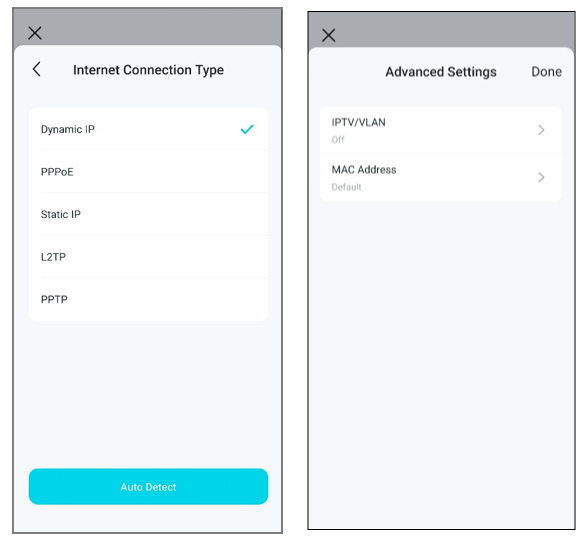
If asked about the MAC address, keep Use Default MAC Address or Do not change MAC address.
Note: If your router is already configured and the setup wizard does not open, use the Web Setup tab to check or change Dynamic IP and IPTV/VLAN.
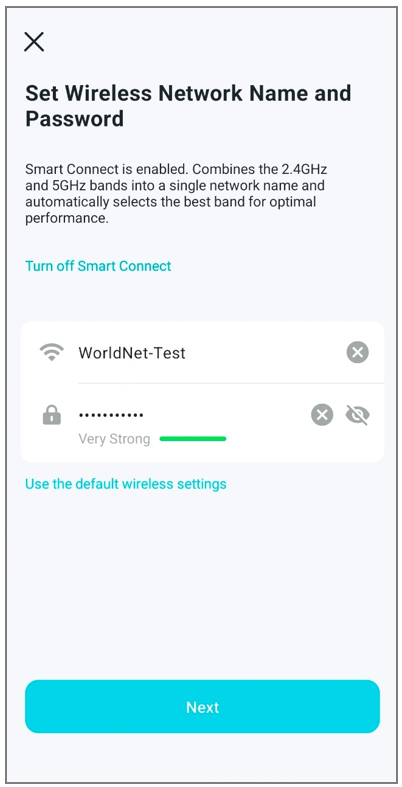
10.4 Set your Wi-Fi name and password
Enter your preferred Wi-Fi name and a strong password, then tap Next. If separate bands are shown, enter the details for each; Smart Connect can use one name for the supported bands.
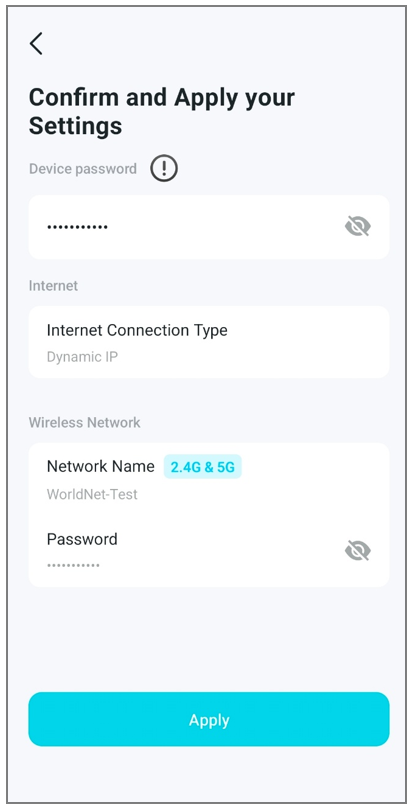
10.5 Apply the settings
If an automatic update preference is shown, choose your preference or skip it. Review the connection type and Wi-Fi details, then tap Apply / Save. Wait for the router to finish applying the settings.
10.6 Reconnect to Wi-Fi
If you changed the Wi-Fi name or password, reconnect your phone using the new details. Return to Tether and select Finish / Done if prompted.
Step 11: Test your internet connection
Open a website while connected to the router’s Wi-Fi.
Note: Temporarily turn off mobile data so you can confirm the internet connection is coming through Wi-Fi rather than 4G/5G.