
Set up your TP-Link Deco using the TP-Link Deco app. The screenshots show examples from the Deco app; screens and the order of prompts may vary by model and app version.
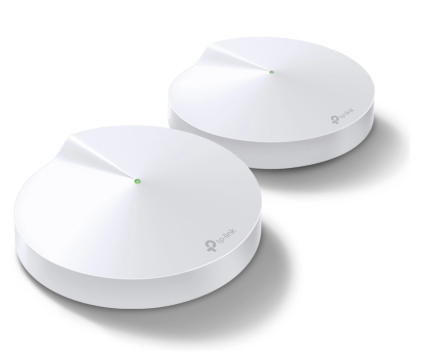
Step 1: Install the Deco app
1.1 Get TP-Link Deco
Install the TP-Link Deco app from the Apple App Store or Google Play.

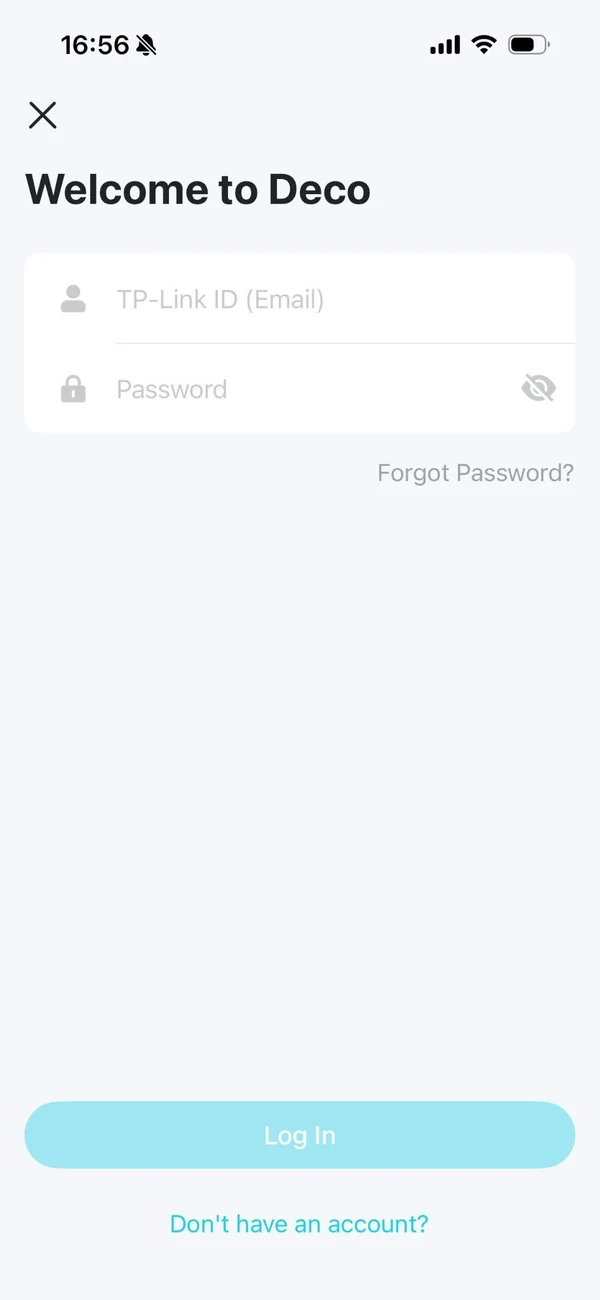
1.2 Log in or create a TP-Link ID
Open the app and sign in with your TP-Link ID, or create an account by following the app prompts.
Step 2: Connect your main Deco
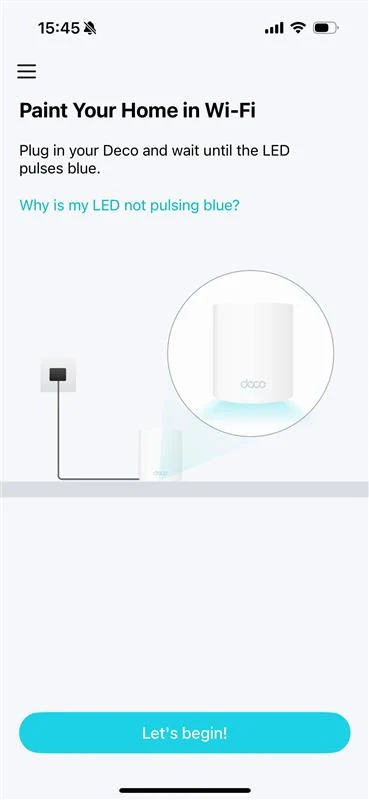
2.1 Start setup
Tap Let’s begin to start setup. If the app asks you to choose a model, select the exact model printed on your Deco. If you already have a Deco network, tap + and choose Create a Network.
2.2 Connect the ONT and power
Use an Ethernet cable to connect the active ONT port specified by WorldNet to an Ethernet port on the main Deco M5. The ONT port number varies by connection. Connect the Deco power adapter and switch it on.
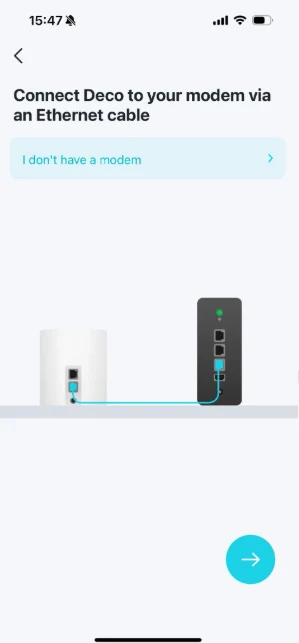
Note: The app illustration may show a generic modem. For WorldNet fibre, connect to your ONT. Do not assume its active port is always LAN 1.
2.3 Wait for the setup light
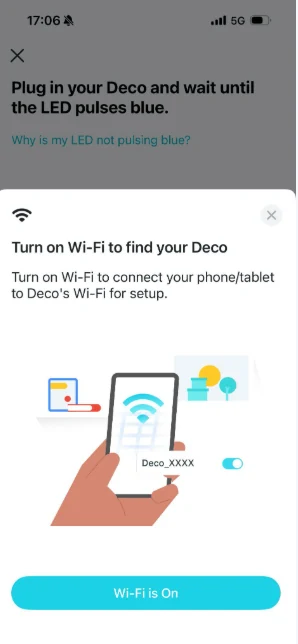
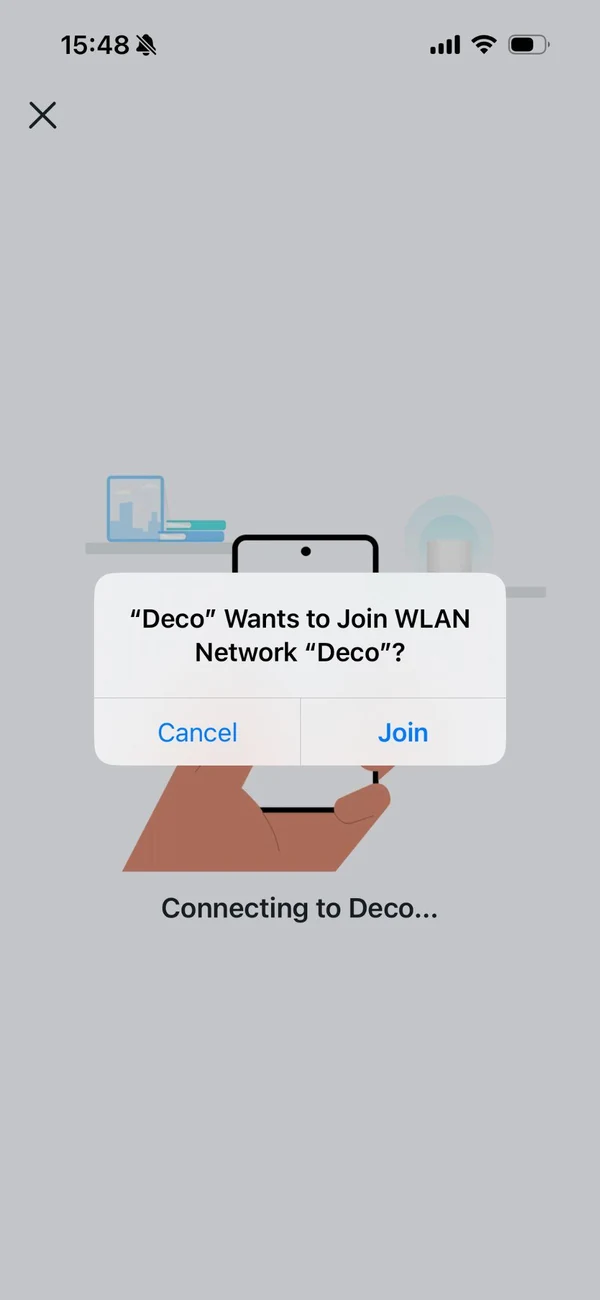
Wait for the Deco LED to pulse blue, then follow the app to find the Deco. Connect to the Deco’s default Wi-Fi when prompted, or use Bluetooth if offered. Allow the device-discovery permissions needed by your phone.
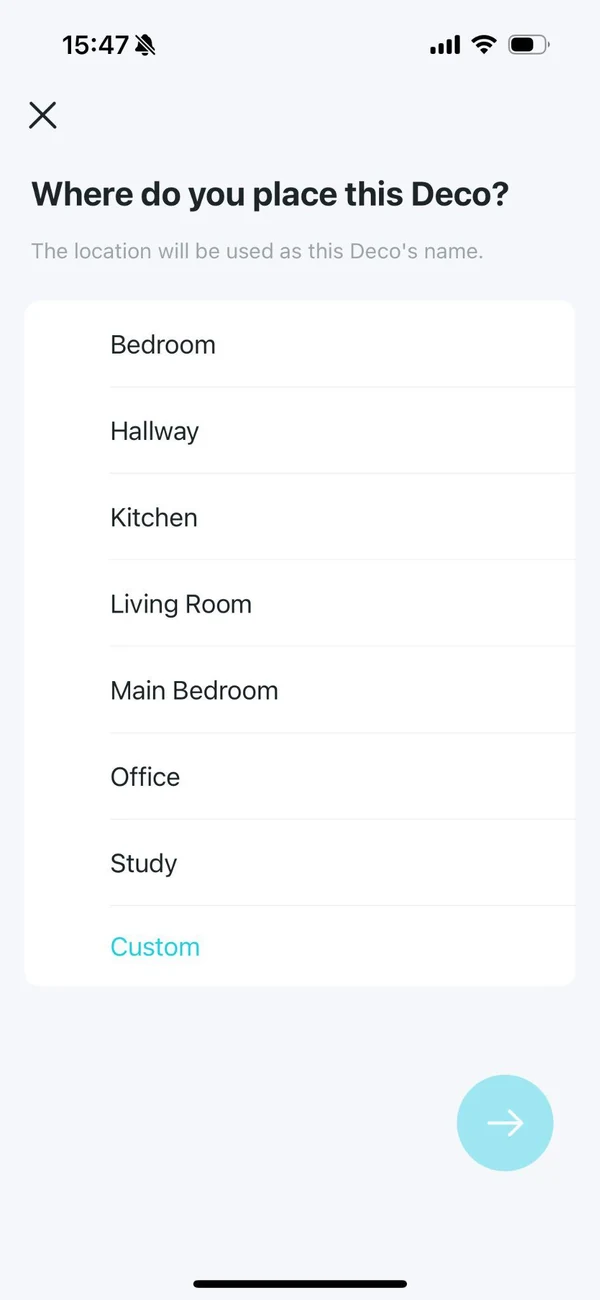
2.4 Choose the Deco location
Select the room where the main Deco is located, or enter a location name.
Step 3: Set up the internet and Wi-Fi
WorldNet Internet Settings
Internet Connection Type
Dynamic IP / DHCP / Automatic IP / IPoE
VLAN
Disabled / Off
Choose the matching option shown by your router.
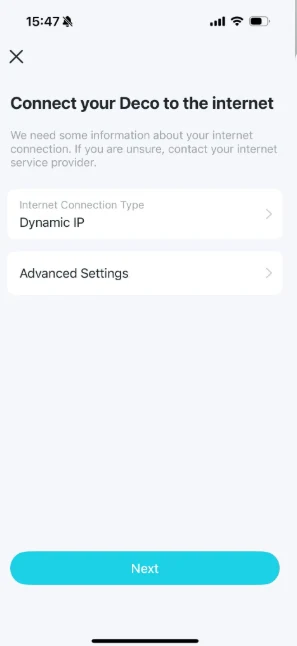
3.1 Choose Dynamic IP
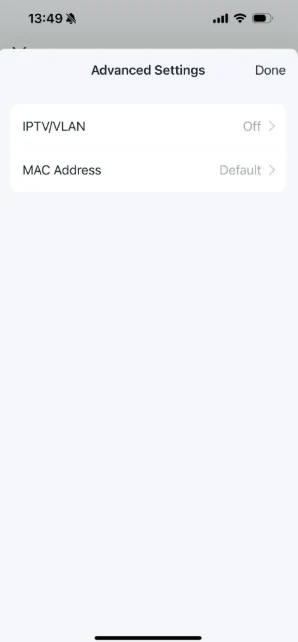
Set Internet Connection Type to Dynamic IP. Open Advanced Settings > IPTV/VLAN if shown and keep it Off. On older app screens, this is called IPTV/VLAN Settings. Return to the connection screen and select Next.
3.2 Create your Wi-Fi network
Enter a Wi-Fi network name and a strong password, then select Next.
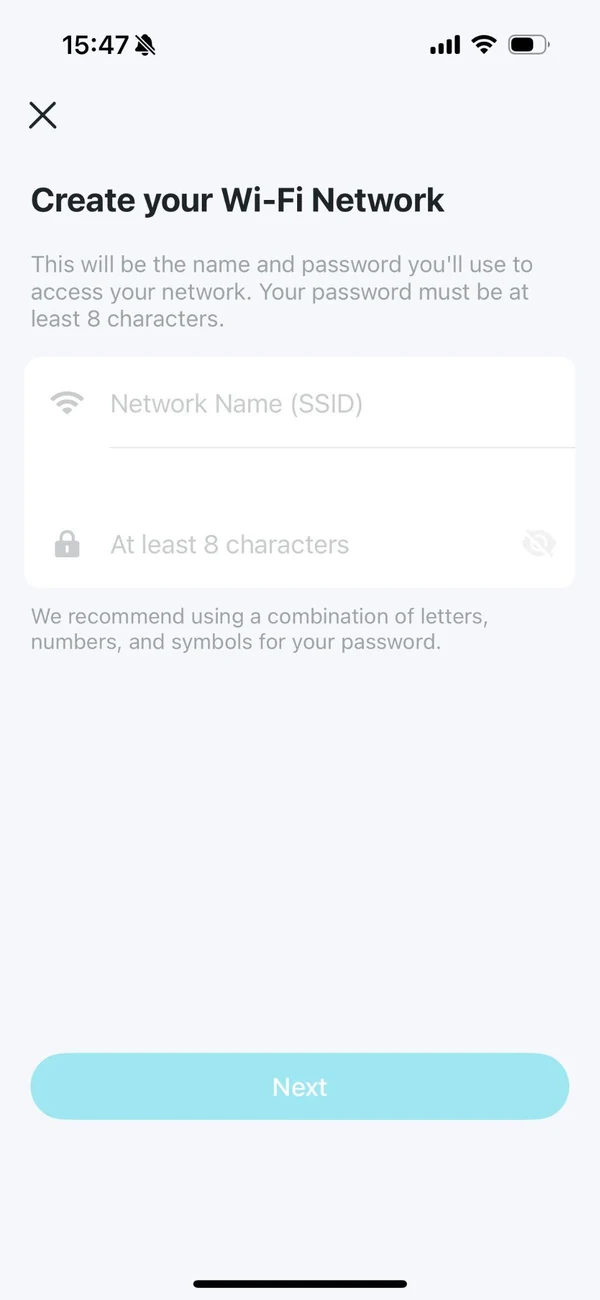
3.3 Connect to your new Wi-Fi
Connect your phone to the new Deco Wi-Fi network using the password you just created. Return to the app and complete the remaining prompts. You can add other Deco units by following the app’s add-device instructions.
Step 4: Test your internet connection
Connect your device to the router by Ethernet or Wi-Fi, then open a website to check that the internet works.
Note: If you test on a phone, temporarily turn off mobile data so you can confirm the connection is coming through Wi-Fi rather than 4G/5G.