
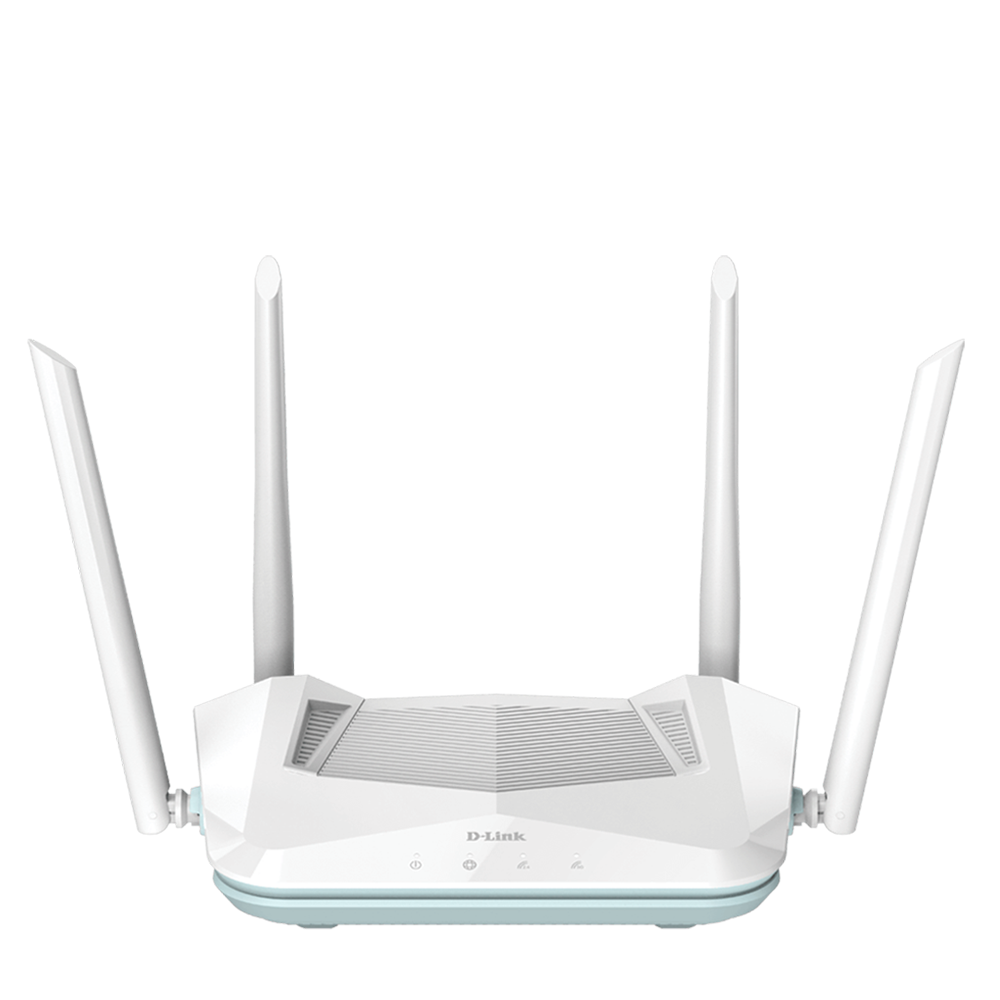
Set up your D-Link R15 for WorldNet fibre using the web setup wizard. Screens may vary by firmware.
Step 1: Connect the router
1.1 Turn off the ONT
Turn off your Optical Network Terminal (ONT), also known as the fibre box.
1.2 Connect the ONT to your router
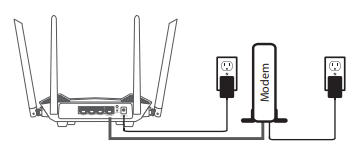
Connect an Ethernet cable from the active Ethernet port on your ONT specified by WorldNet to the Internet (WAN) port on your router. The ONT port number can vary; use the port specified for your connection.
1.3 Turn on the ONT
Switch on the ONT and wait about 2 minutes for it to restart.
1.4 Turn on the router
Connect the power adapter to the router and switch it on.
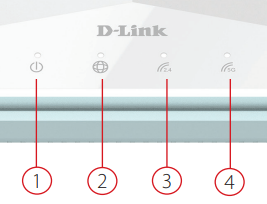
Note: After power-up, check the Power and Wi-Fi indicators. The Internet indicator may only show a working connection after setup is complete.
Step 2: Connect your device
Choose one of the following connection methods.
Option 1: Wired connection
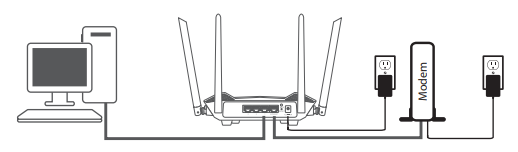
Connect your computer to an available LAN port on the router using another Ethernet cable. Use an Ethernet adapter if needed.
Option 2: Wireless connection
Connect to the Wi-Fi name (SSID) printed on the router label using its Wi-Fi password. If you have changed these details, use your current Wi-Fi name and password.

Note: Keep your device connected to the router by Ethernet or Wi-Fi throughout setup.
Step 3: Set up the router
WorldNet Internet Settings
Internet Connection Type
Dynamic IP / DHCP / Automatic IP / IPoE
VLAN
Disabled / Off
Choose the matching option shown by your router.
3.1 Open the setup page
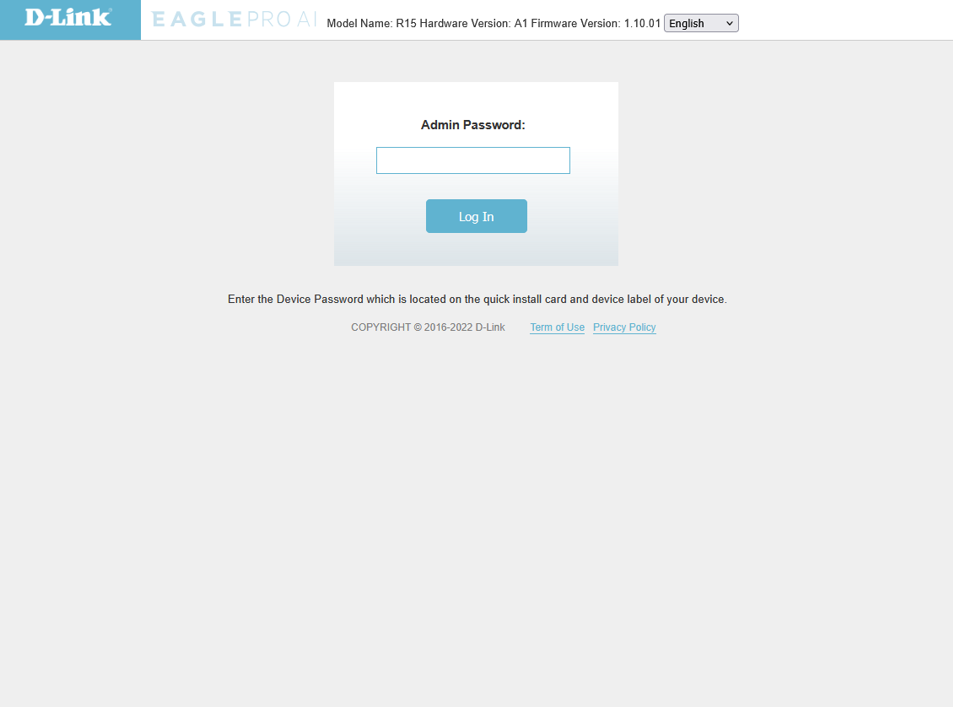
Enter the setup address printed on your router label in your browser. It uses the format http://XXXX.devicesetup.net, where XXXX is the last four characters of the MAC address. If the login page does not open, try http://192.168.0.1 or check the login address on your router label.

3.2 Log in and start setup
Enter the Admin Password printed on the router label, or your current admin password, and select Log In.
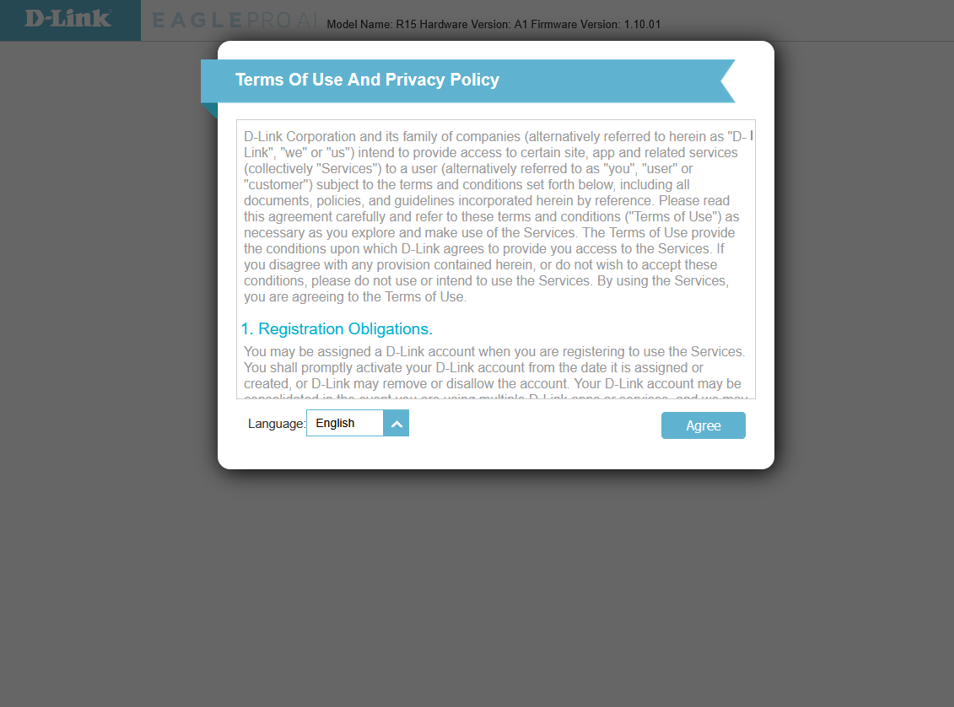
Read the Terms of Use and Privacy Policy. If you accept them, select Agree.
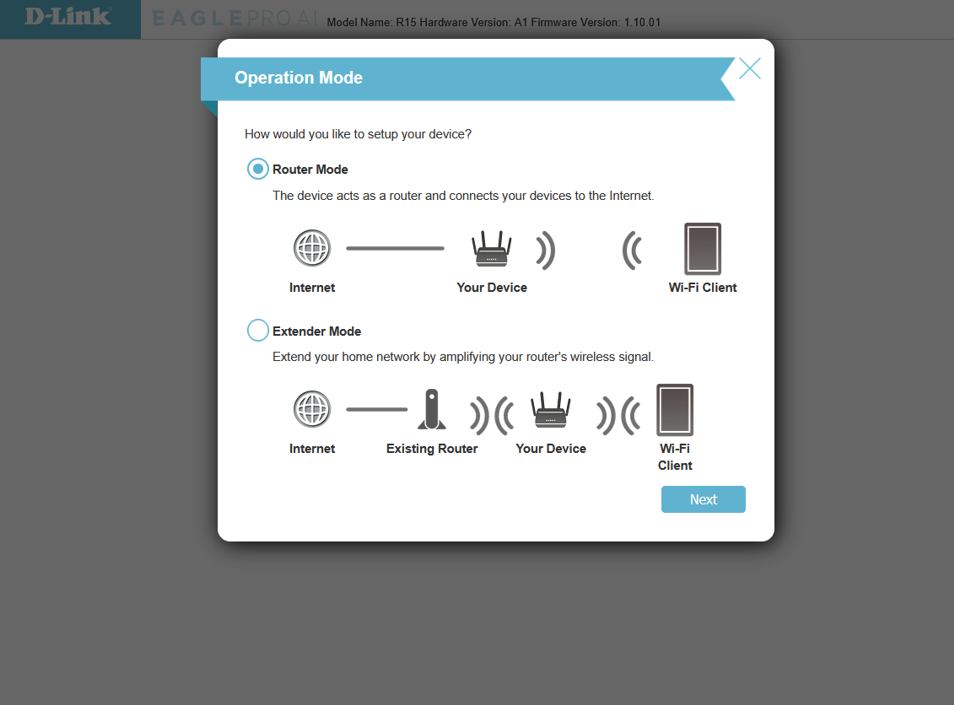
3.3 Choose Router Mode
Select Router Mode, then select Next.
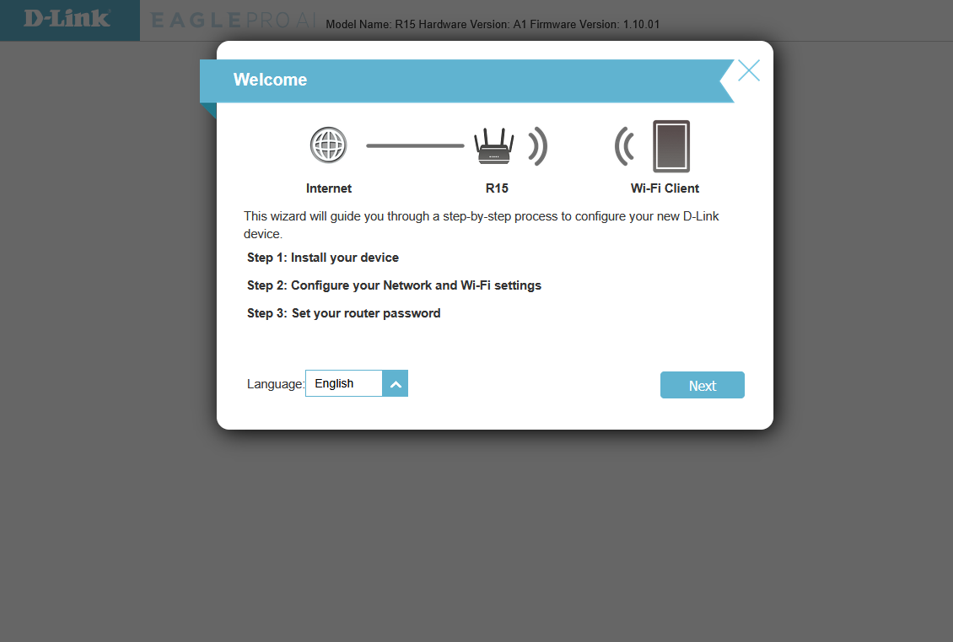
On the welcome screen, select Next to begin the wizard.
3.4 Choose the internet settings
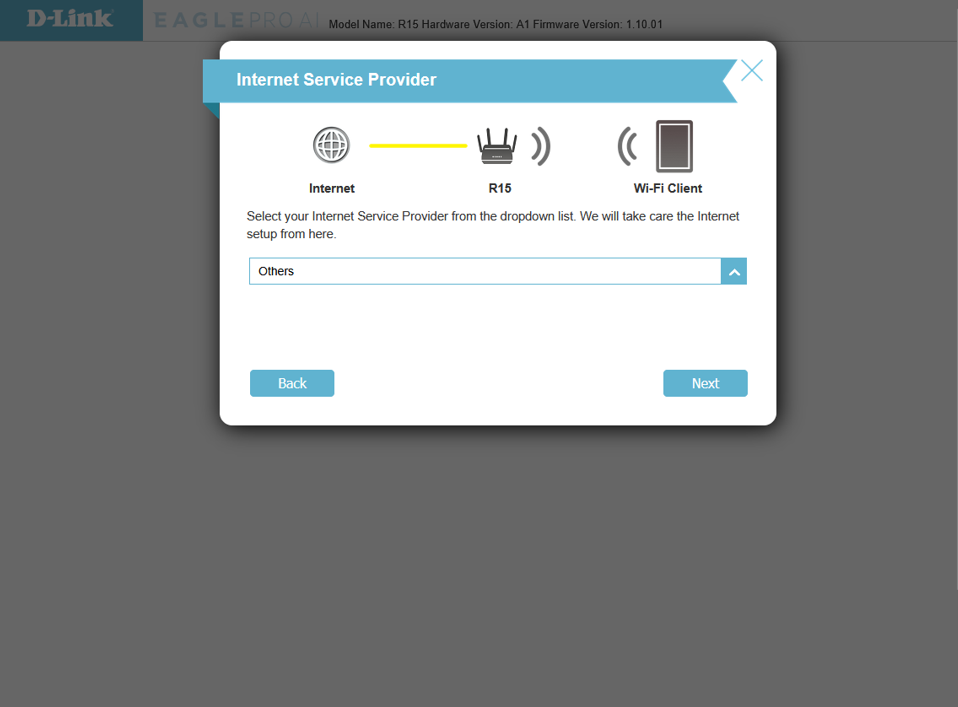
Select Others as the Internet Service Provider, then select Next.
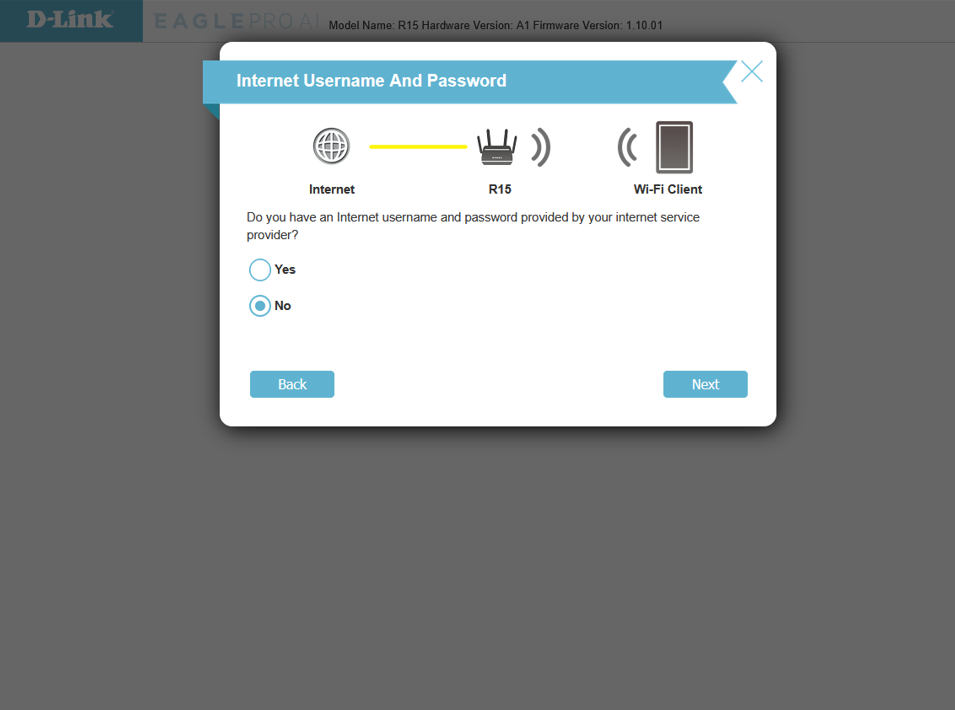
When asked whether your internet connection requires a username and password, choose No, then select Next. This selects Dynamic IP / DHCP for WorldNet.
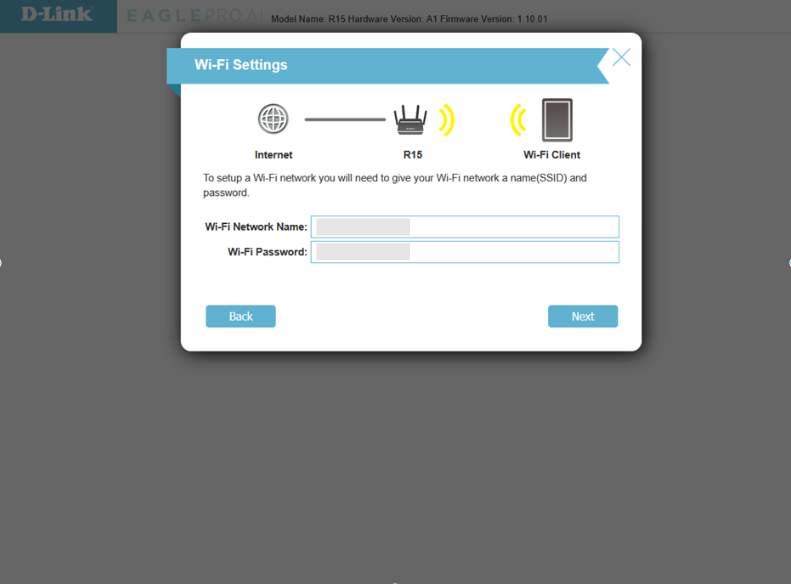
3.5 Set your Wi-Fi details
Enter your preferred Wi-Fi Network Name and a strong Wi-Fi Password, then select Next.
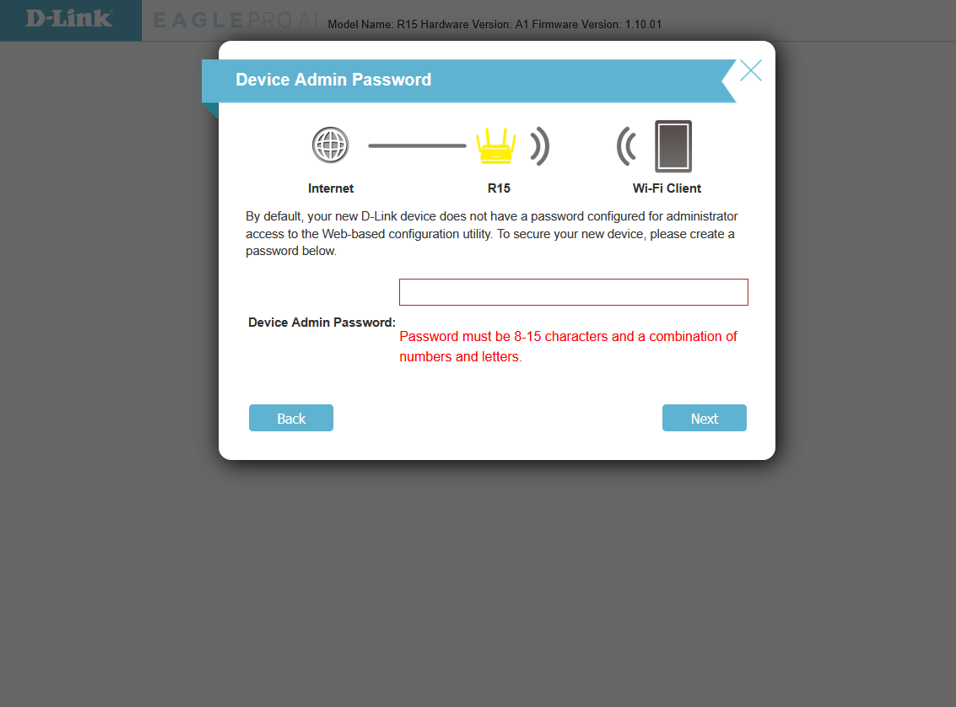
3.6 Set the router admin password
Create a strong Device Admin Password for future router logins. This is separate from the Wi-Fi password. Select Next.
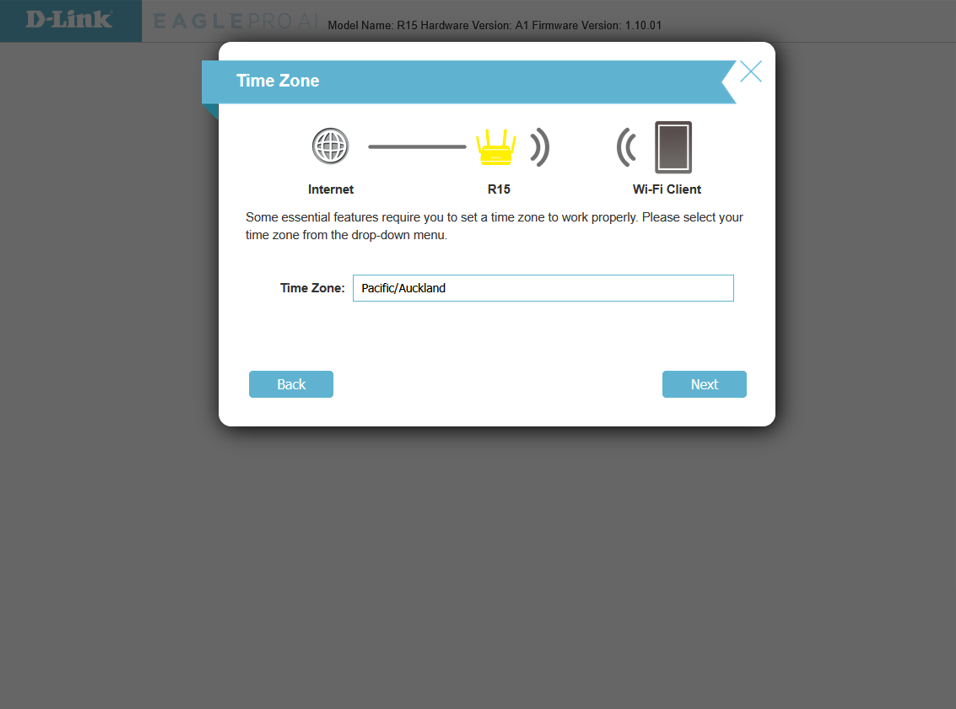
3.7 Set the time zone and update preference
Choose Pacific/Auckland and select Next.
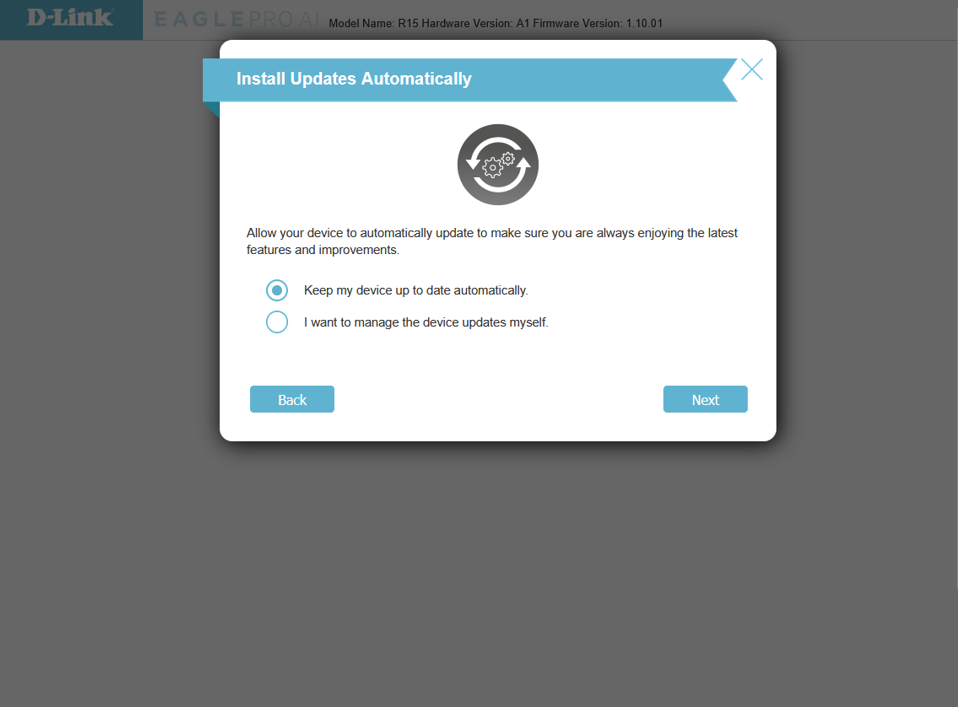
Choose the automatic firmware update option, then select Next.
3.8 Apply the setup and confirm VLAN is off
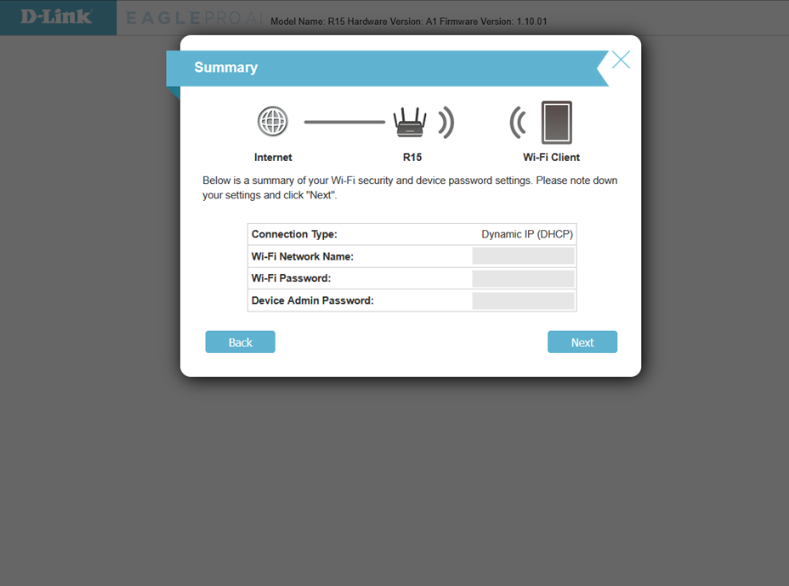
Review the wizard summary and continue with Next to save. Reconnect using your new Wi-Fi details if necessary.
Log in again with your new admin password. Under Settings > Internet > IPv4, confirm Dynamic IP (DHCP).
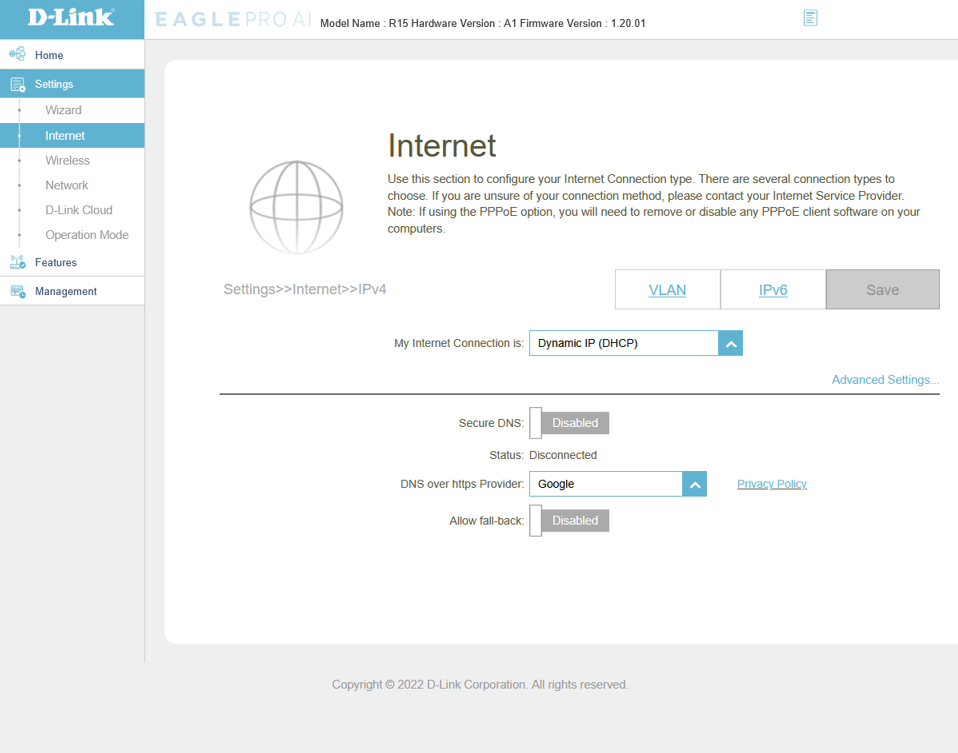
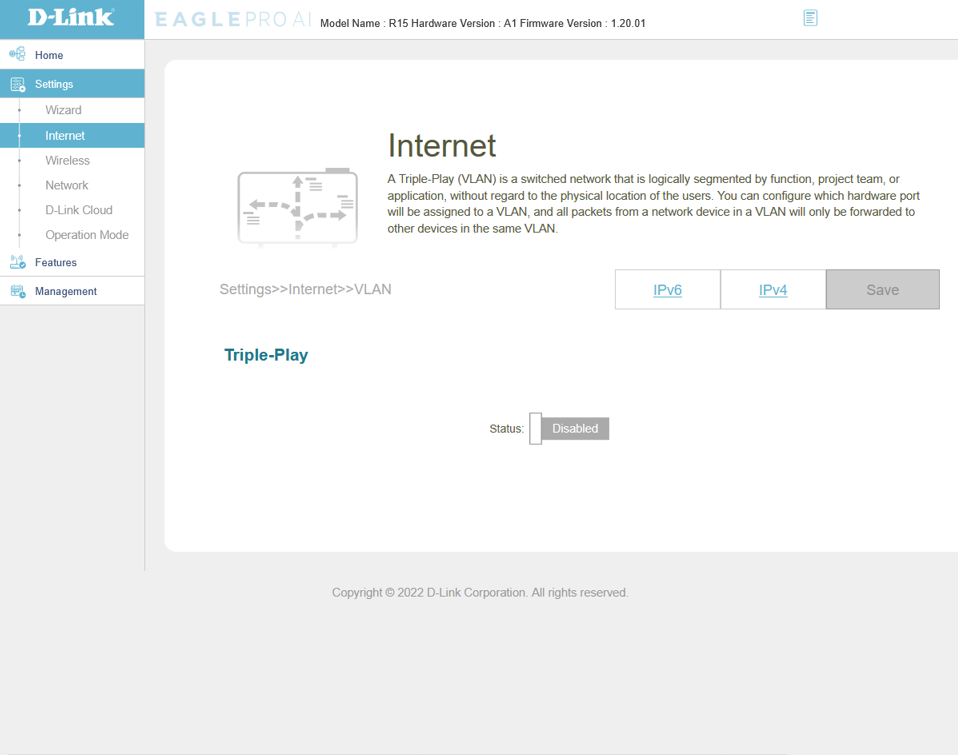
Under Settings > Internet > VLAN, set Status to Disabled. Save any changes.
Step 4: Test your internet connection
Connect your device to the router by Ethernet or Wi-Fi, then open a website to check that the internet works.
Note: If you test on a phone, temporarily turn off mobile data so you can confirm the connection is coming through Wi-Fi rather than 4G/5G.