
Set up your TP-Link MR6400 with the WorldNet-supplied 4G SIM. This guide uses the Feenix APN from the original WorldNet instructions; if WorldNet supplied different settings for your SIM, use those settings.
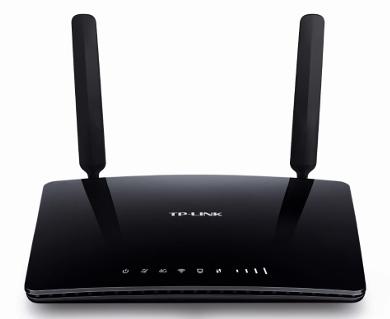
Step 1: Prepare the router
1.1 Install the antennas and SIM
With the router switched off, attach the 4G LTE antennas and position them upright. Insert the WorldNet-supplied SIM in the orientation shown beside the SIM slot.
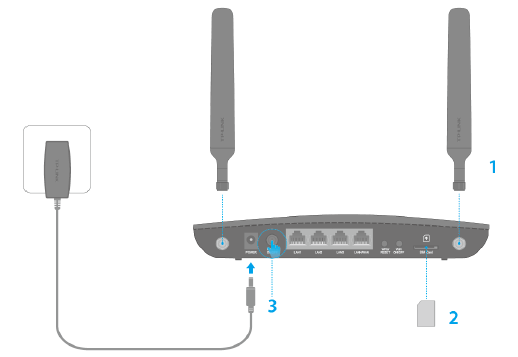
1.2 Turn on the router
Connect the power adapter and switch on the router. Allow it to start and detect the SIM.
1.3 Find a good signal
Check the mobile signal indicators. Aim for a strong signal; if reception is weak, move the router closer to a window. Indicator details vary by hardware version.
Step 2: Connect your device
Connect a computer to a LAN port using an Ethernet cable, or join the router’s Wi-Fi network using the details printed on its label.
Note: Keep your device connected to the router throughout setup. An ONT or fibre WAN cable is not needed for this SIM-based connection.
Step 3: Set up the mobile connection
3.1 Log in to the router
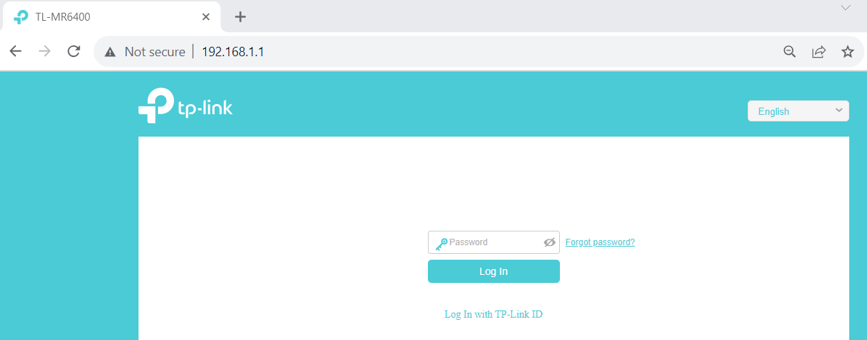
While connected to the router by Wi-Fi or Ethernet, open http://tplinkmodem.net or http://192.168.1.1 in your browser. If the login page does not open, check the address on the router label or use its current gateway address. Sign in with your router password. The original guide uses admin; some firmware instead asks you to create a password on first use.
3.2 Select the time zone
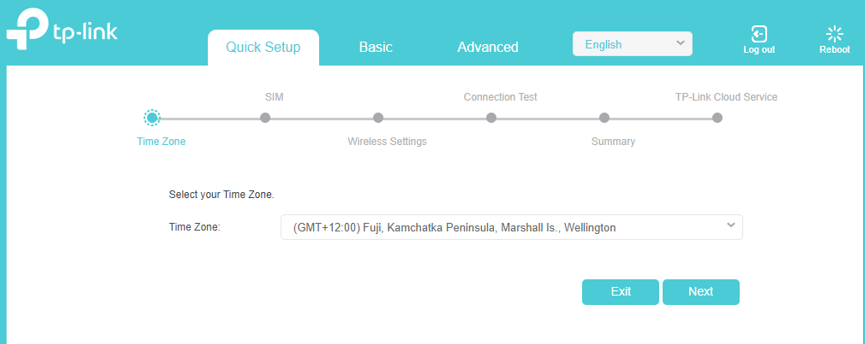
Use 3G/4G Router operation mode. Open Quick Setup, choose the Wellington / New Zealand time zone, then select Next.
3.3 Select the WorldNet SIM profile
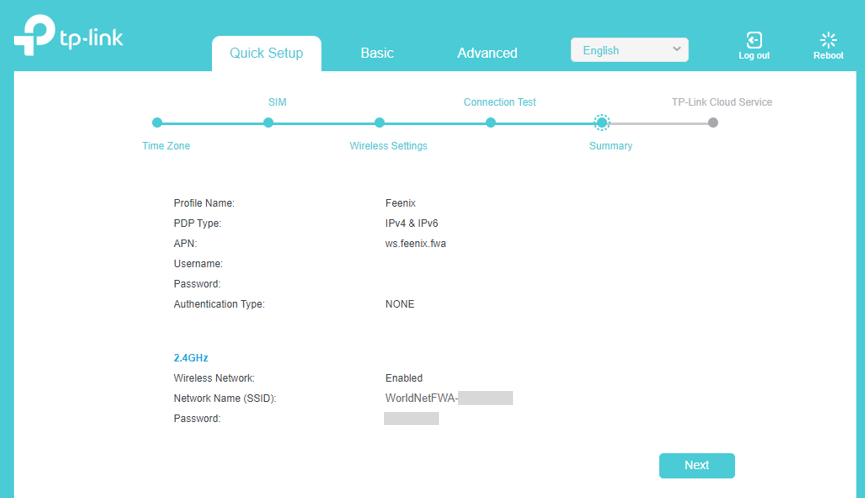
For the SIM covered by this guide, select or enter:
Profile Name: Feenix
PDP Type: IPv4 & IPv6
APN Type: Static
APN: ws.feenix.fwa
Username: Leave blank
Password: Leave blank
Authentication Type: NONE
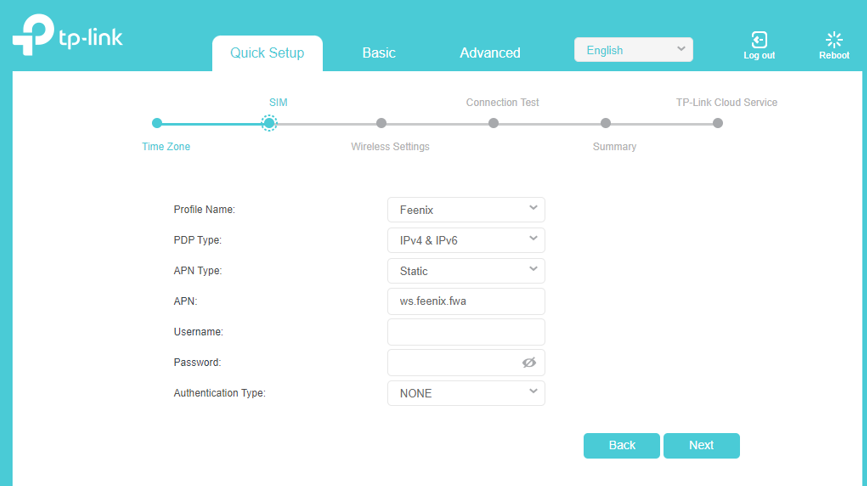
Note: “Static” here describes how the APN is entered; it does not mean you should configure a static WAN IP.
3.4 Create the profile if it is missing
If Feenix is not available, open Advanced > Network > Internet and select Create Profile.
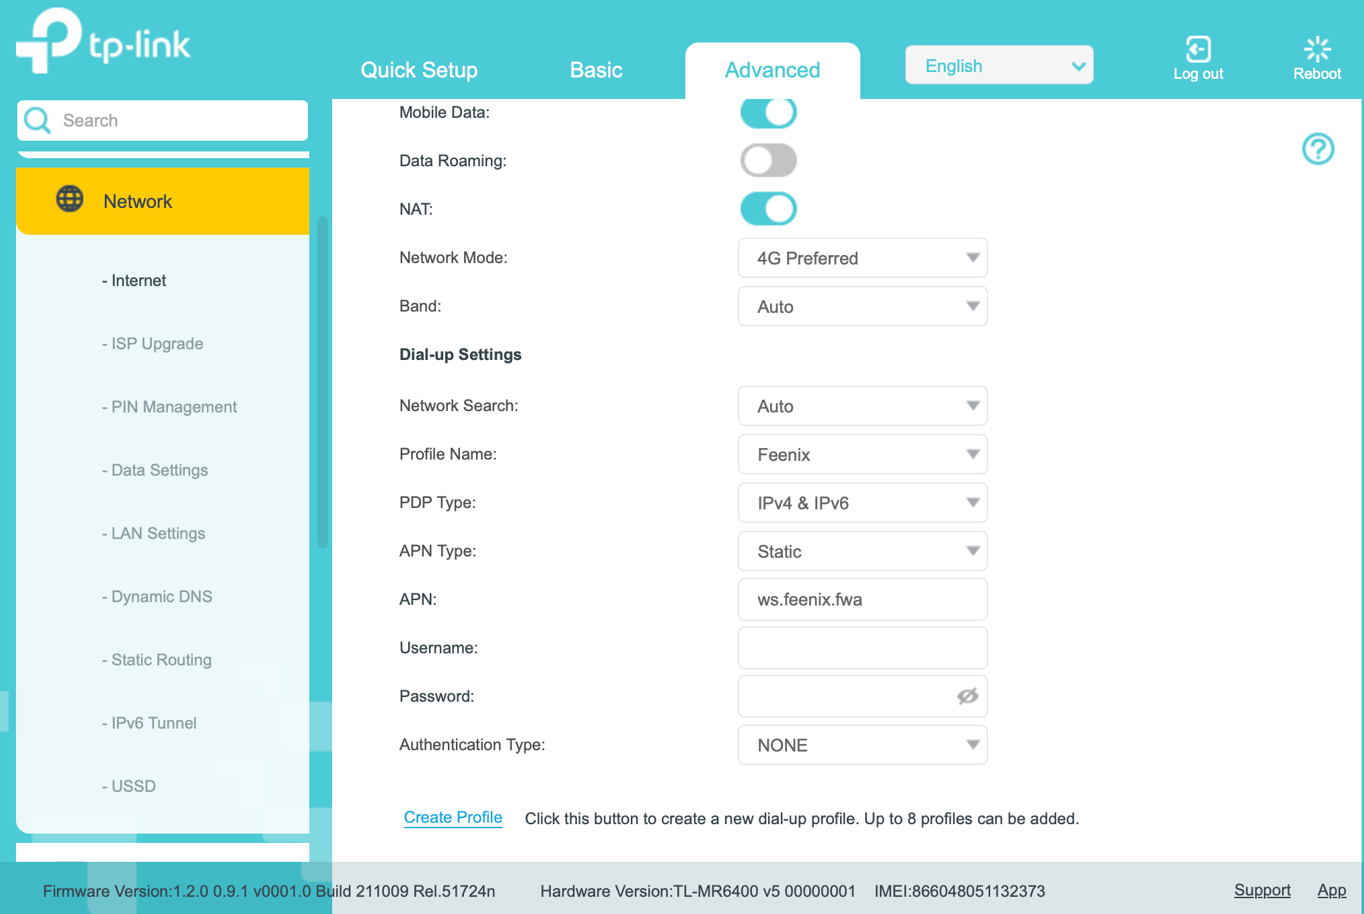
Enter the settings from 3.3, select OK or Save, then choose the new profile. Return to Quick Setup to continue.
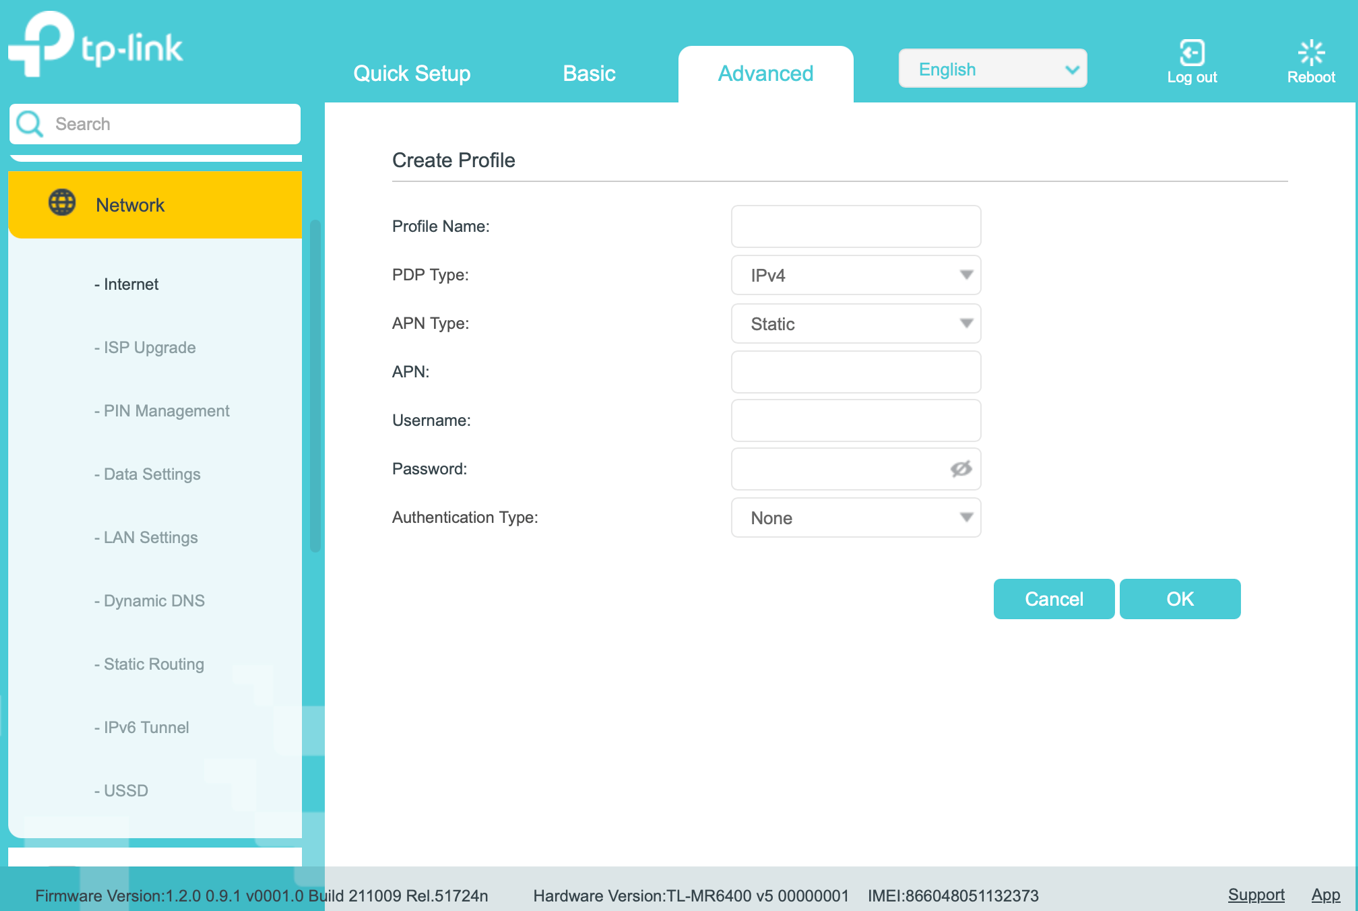
Note: The blank creation form may default to IPv4. Use IPv4 & IPv6 for the profile described above.
3.5 Set your Wi-Fi name and password
Keep the wireless radio enabled. Enter your preferred Wi-Fi name (SSID) and a strong password, then select Next.
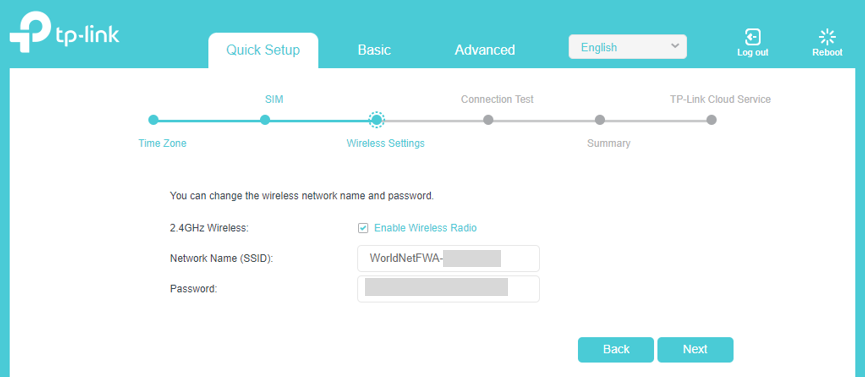
3.6 Apply the configuration
Let the wizard run its connection test. Review the summary, continue with Next, and select Finish when prompted. Reconnect your device if you changed the Wi-Fi details.
Step 4: Test your internet connection
Connect your device to the router by Ethernet or Wi-Fi, then open a website to check that the internet works.
Note: If you test on a phone, temporarily turn off mobile data so you can confirm the connection is coming through Wi-Fi rather than 4G/5G.