
| Method-1: Using a PC/laptop for router settings
Step-1. Connect the router
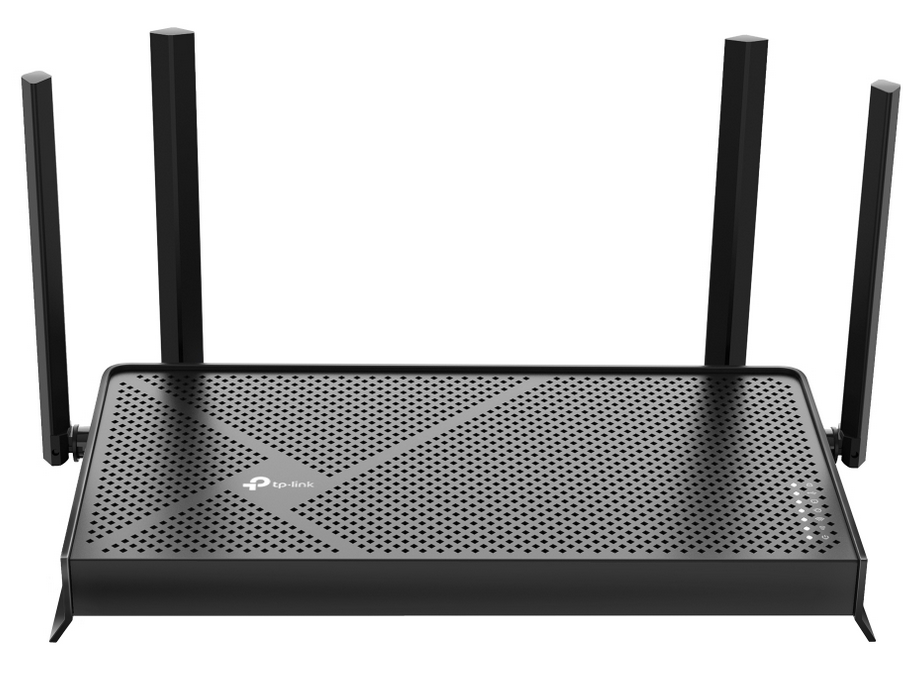
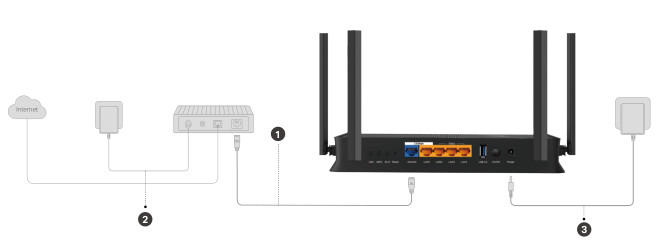
(1) Turn off the modem (ONT)
Note that the modem means the Optical Network Terminal (ONT) device, known as a fibre box.
(2) Connect the modem (ONT) to the router's WAN port with an Ethernet cable.
(3) Turn on the modem (ONT), and then wait about 2 minutes for it to restart.
(4) Connect the power adapter to the router and turn on the router.
(5) Verify that the hardware connection is correct by checking the following LEDs.

Step-2. Access the router
Option-1. Wired: Turn off the Wi-Fi on your computer and connect the devices to the LAN port of your router.
Option-2. Wireless:
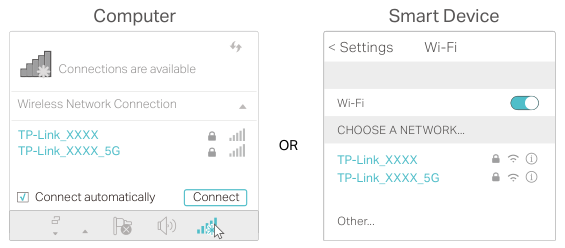
a) Find the SSID (Wi-Fi name) and a password printed on the label at the bottom of the router.
b) Click the network icon of your computer or go to the Wi-Fi settings of your smart devices, and then select the SSID (Wi-Fi name) to join the network.
Step-3. Setup the router
(1) Open a web browser (e.g. Chrome, Safari, Firefox, etc.) and type the default gateway address (e.g. 192.168.1.1).
Note that the PC you use should be connected to the router via Wired (LAN port) or Wireless (Wi-Fi).
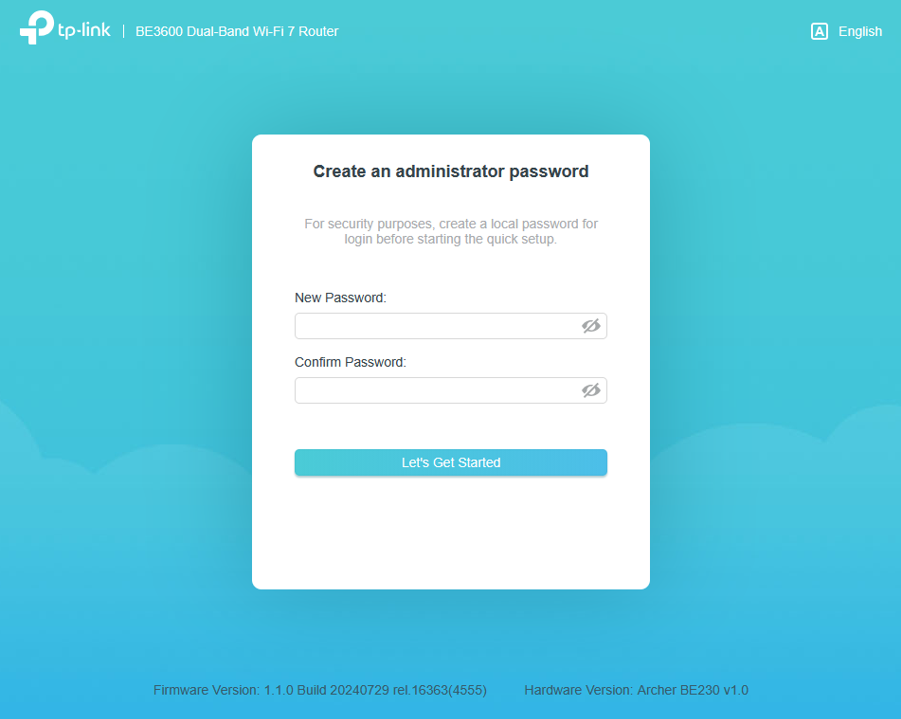
(2) Create a login password to access the router configuration
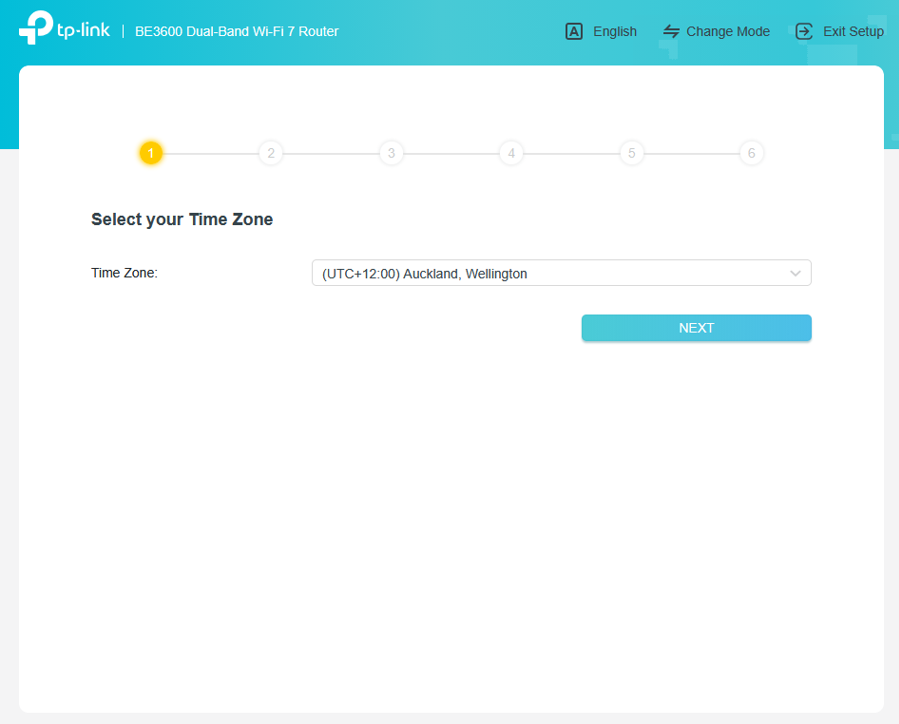
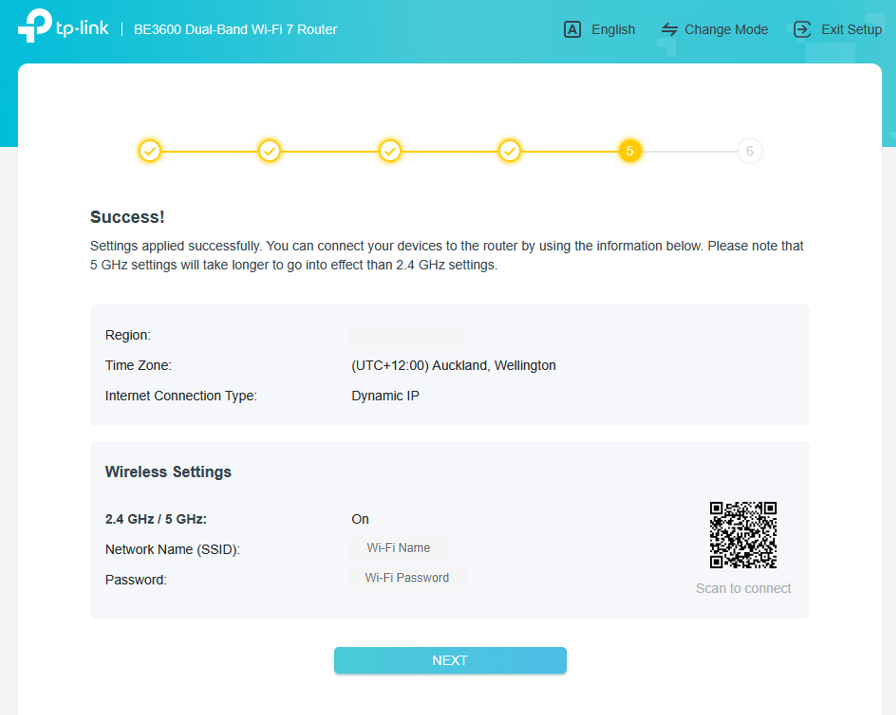
(3) Select your Time Zone:Â (UTC+12:00) Auckland, Wellington
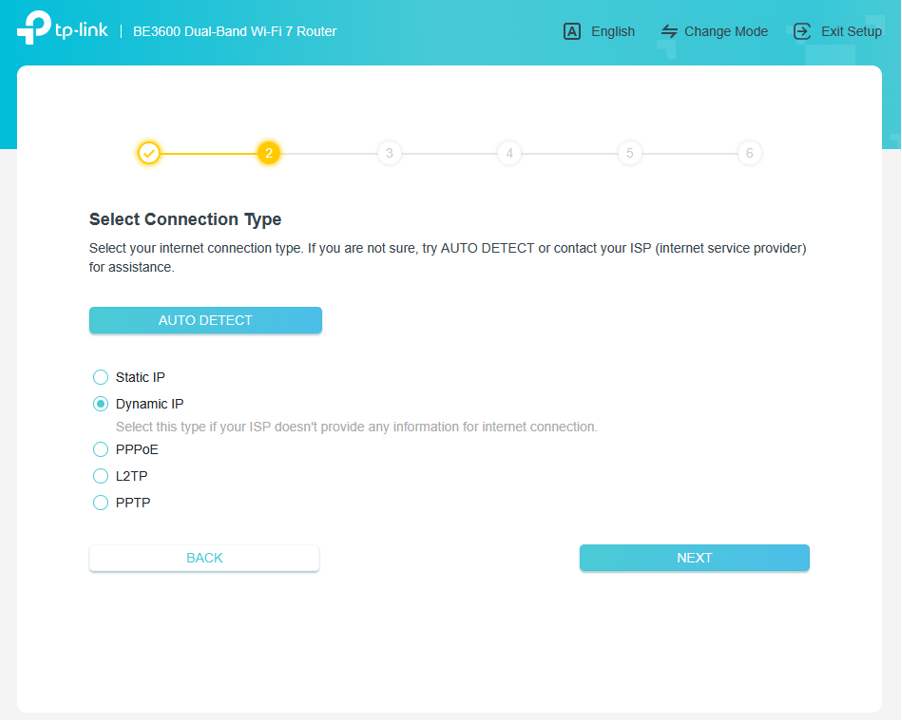
(4) Select Connection Type: [ Dynamic IP ]
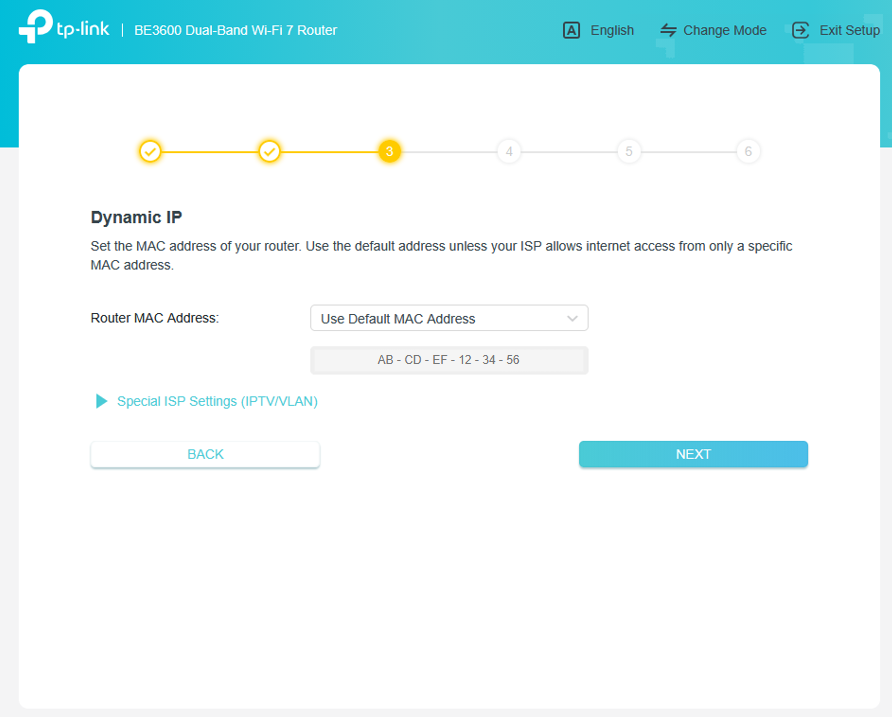
(5) Set the MAC address of your router (Note that you can skip this step)
(6) Set your Wi-Fi name and password
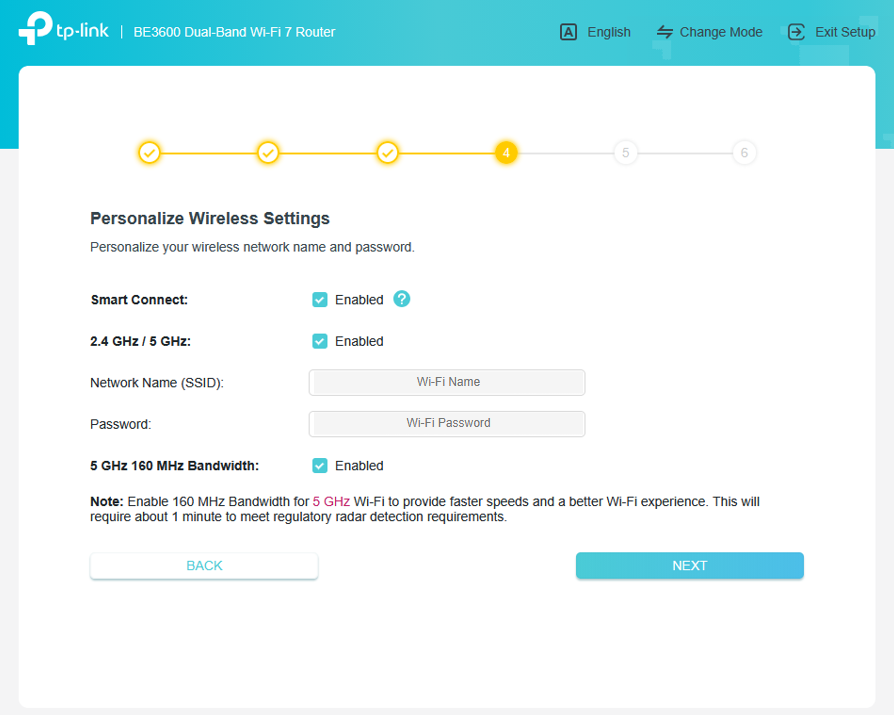
Note that you can manage 2.4GHz and 5GHz separately when you untick [Smart Connect].
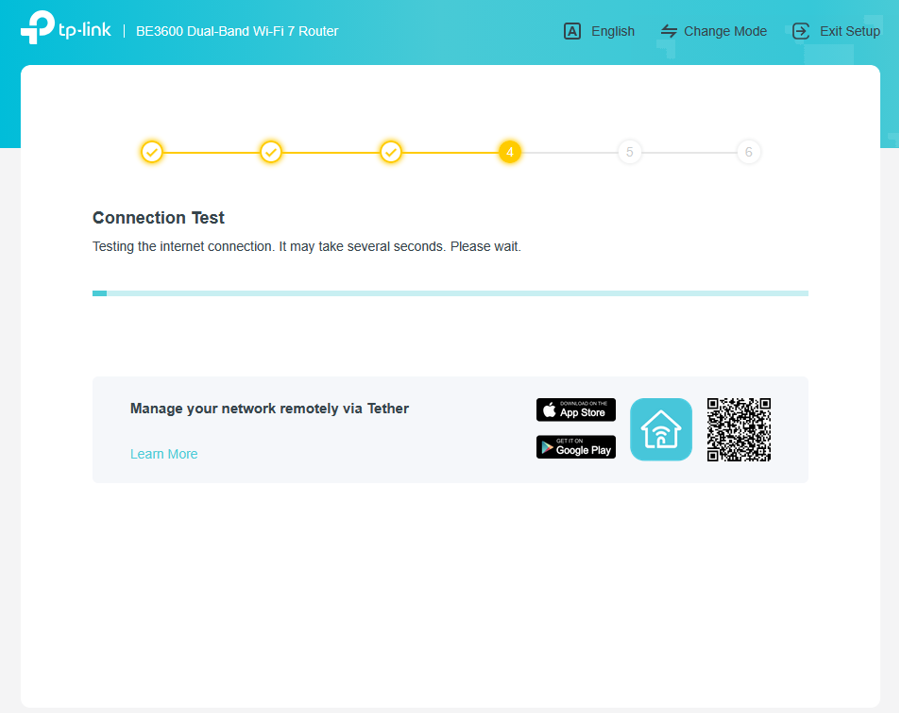
(7) Connection Test
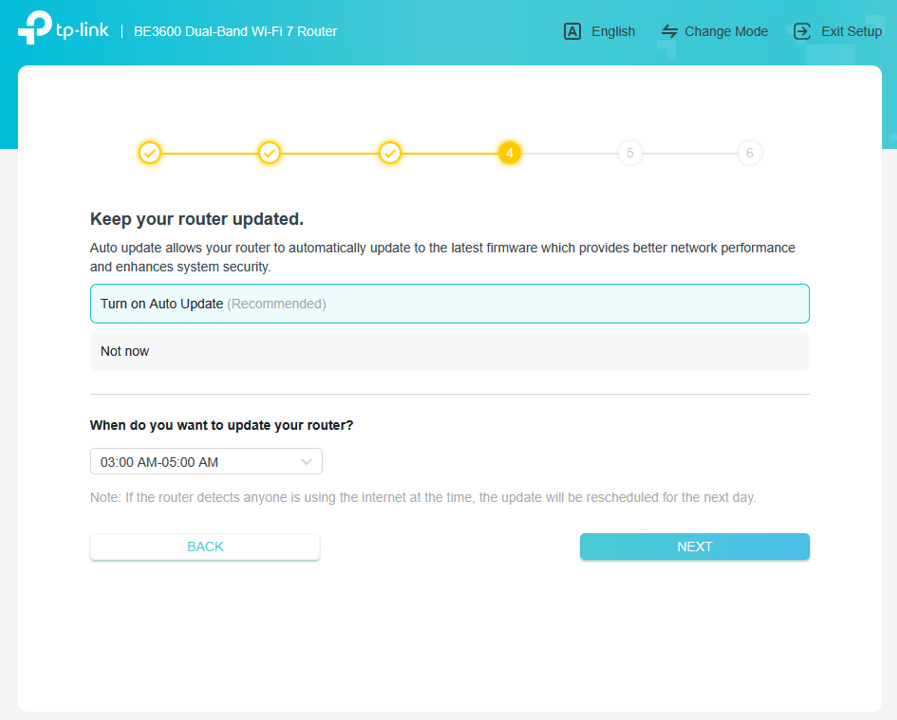
(8) Set auto update firmware (Recommended)
(9) Summary
(10) (Optional) Login TP-Link ID (You can skip it)
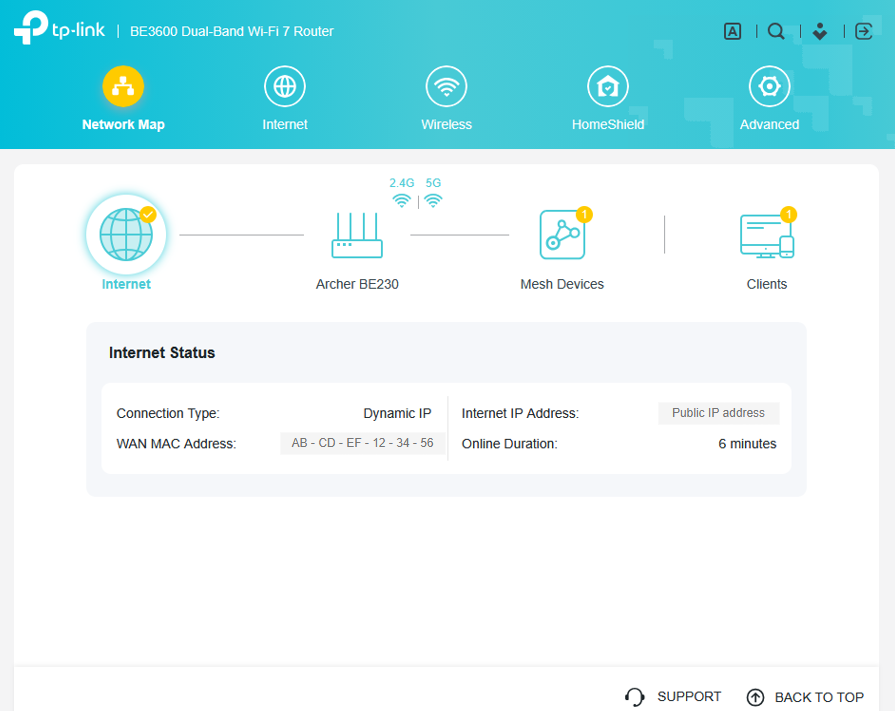
Step-4. Â Check Connection and Status
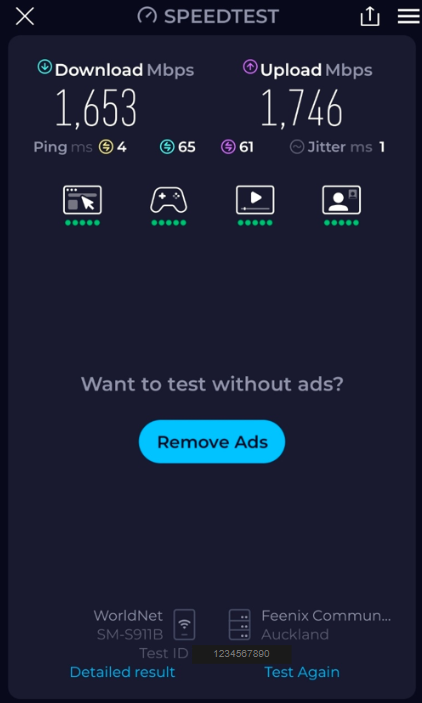
Wi-Fi performance may vary depending on the capabilities of the connected device.Â
Testing was conducted using a Galaxy S23.Â
For the most stable connection and maximum throughput, a wired Ethernet connection is recommended.